Installing Gladys Assistant on a Raspberry Pi
If you already own a Raspberry Pi, you can install Gladys Assistant in just a few minutes using our new official 64-bit image, compatible with Raspberry Pi 3, 4, and 5.
This is the easiest way to discover Gladys, without having to install Raspberry Pi OS and Docker yourself.
For a long-term setup, I recommend a mini-PC instead (better price/performance ratio, integrated NVMe SSD, more reliable with Zigbee/Z-Wave dongles).
But if you already have a Raspberry Pi on hand, use it to try Gladys. That's exactly why we made this installation so simple!
What You'll Need
- A Raspberry Pi 3, 4, or 5 (64-bit model)
- A USB SSD is preferred (USB 3.0 adapter + SATA or NVMe SSD). A 16 GB micro-SD card also works fine for testing.
- An official power supply suited to your model (5V / 3A for Pi 4, 5V / 5A for Pi 5)
- An Ethernet cable or Wi-Fi connection
- A computer (Windows, macOS, or Linux) to flash the image
Step 1: Download Raspberry Pi Imager
Download and install Raspberry Pi Imager on your computer. This is the official tool for flashing images onto SD cards or SSDs.
Step 2: Select Your Raspberry Pi
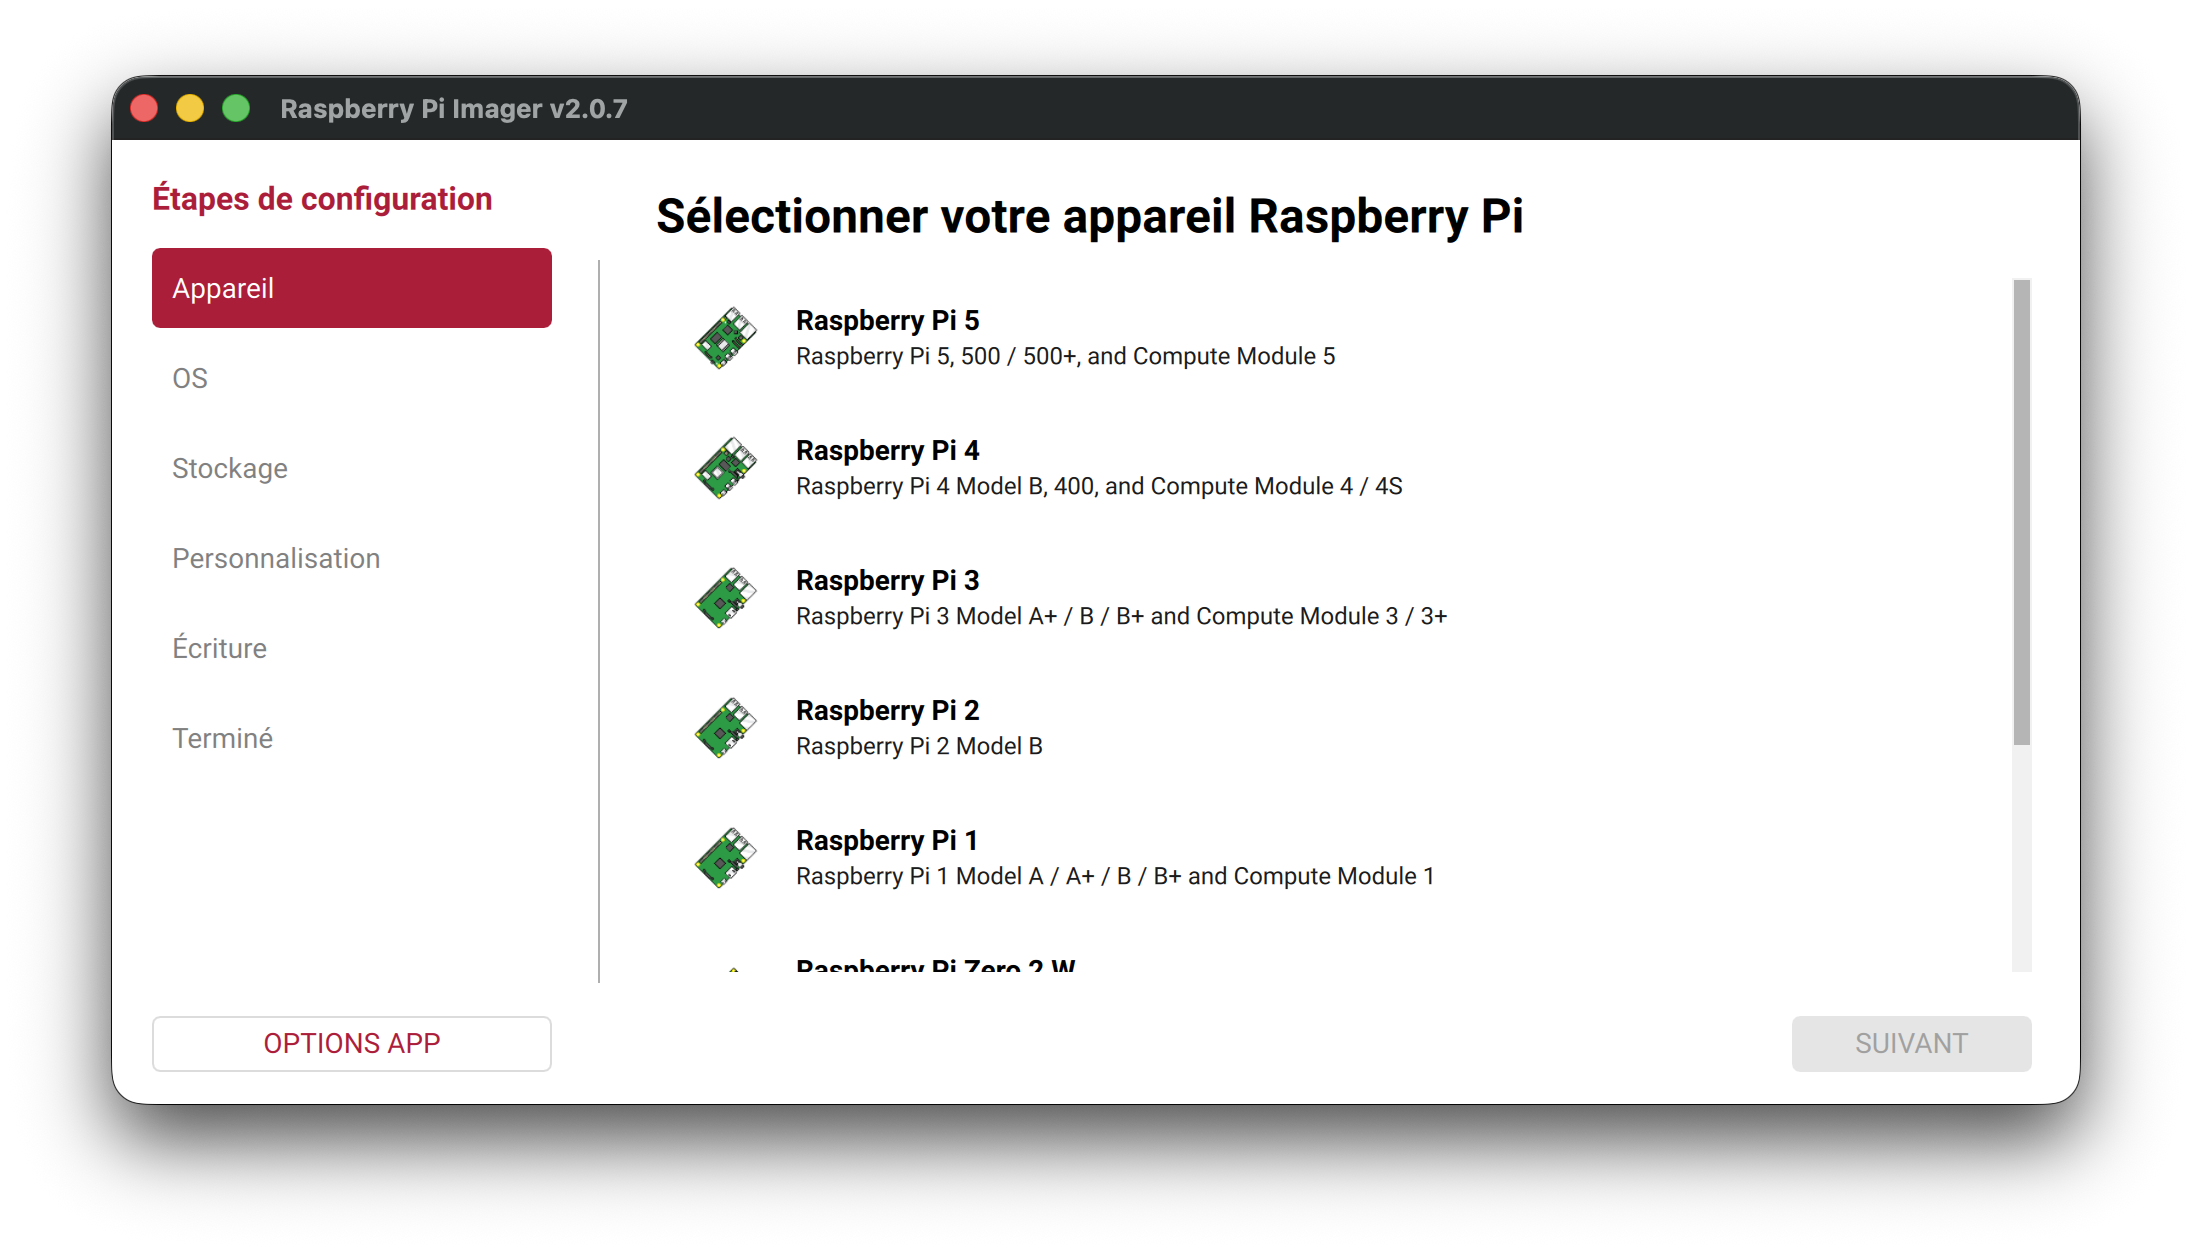
Open Raspberry Pi Imager and click Choose Device (or NEXT if you're in the new step-by-step wizard).
Select your Raspberry Pi model from the list:
Step 3: Choose the Gladys Assistant Image
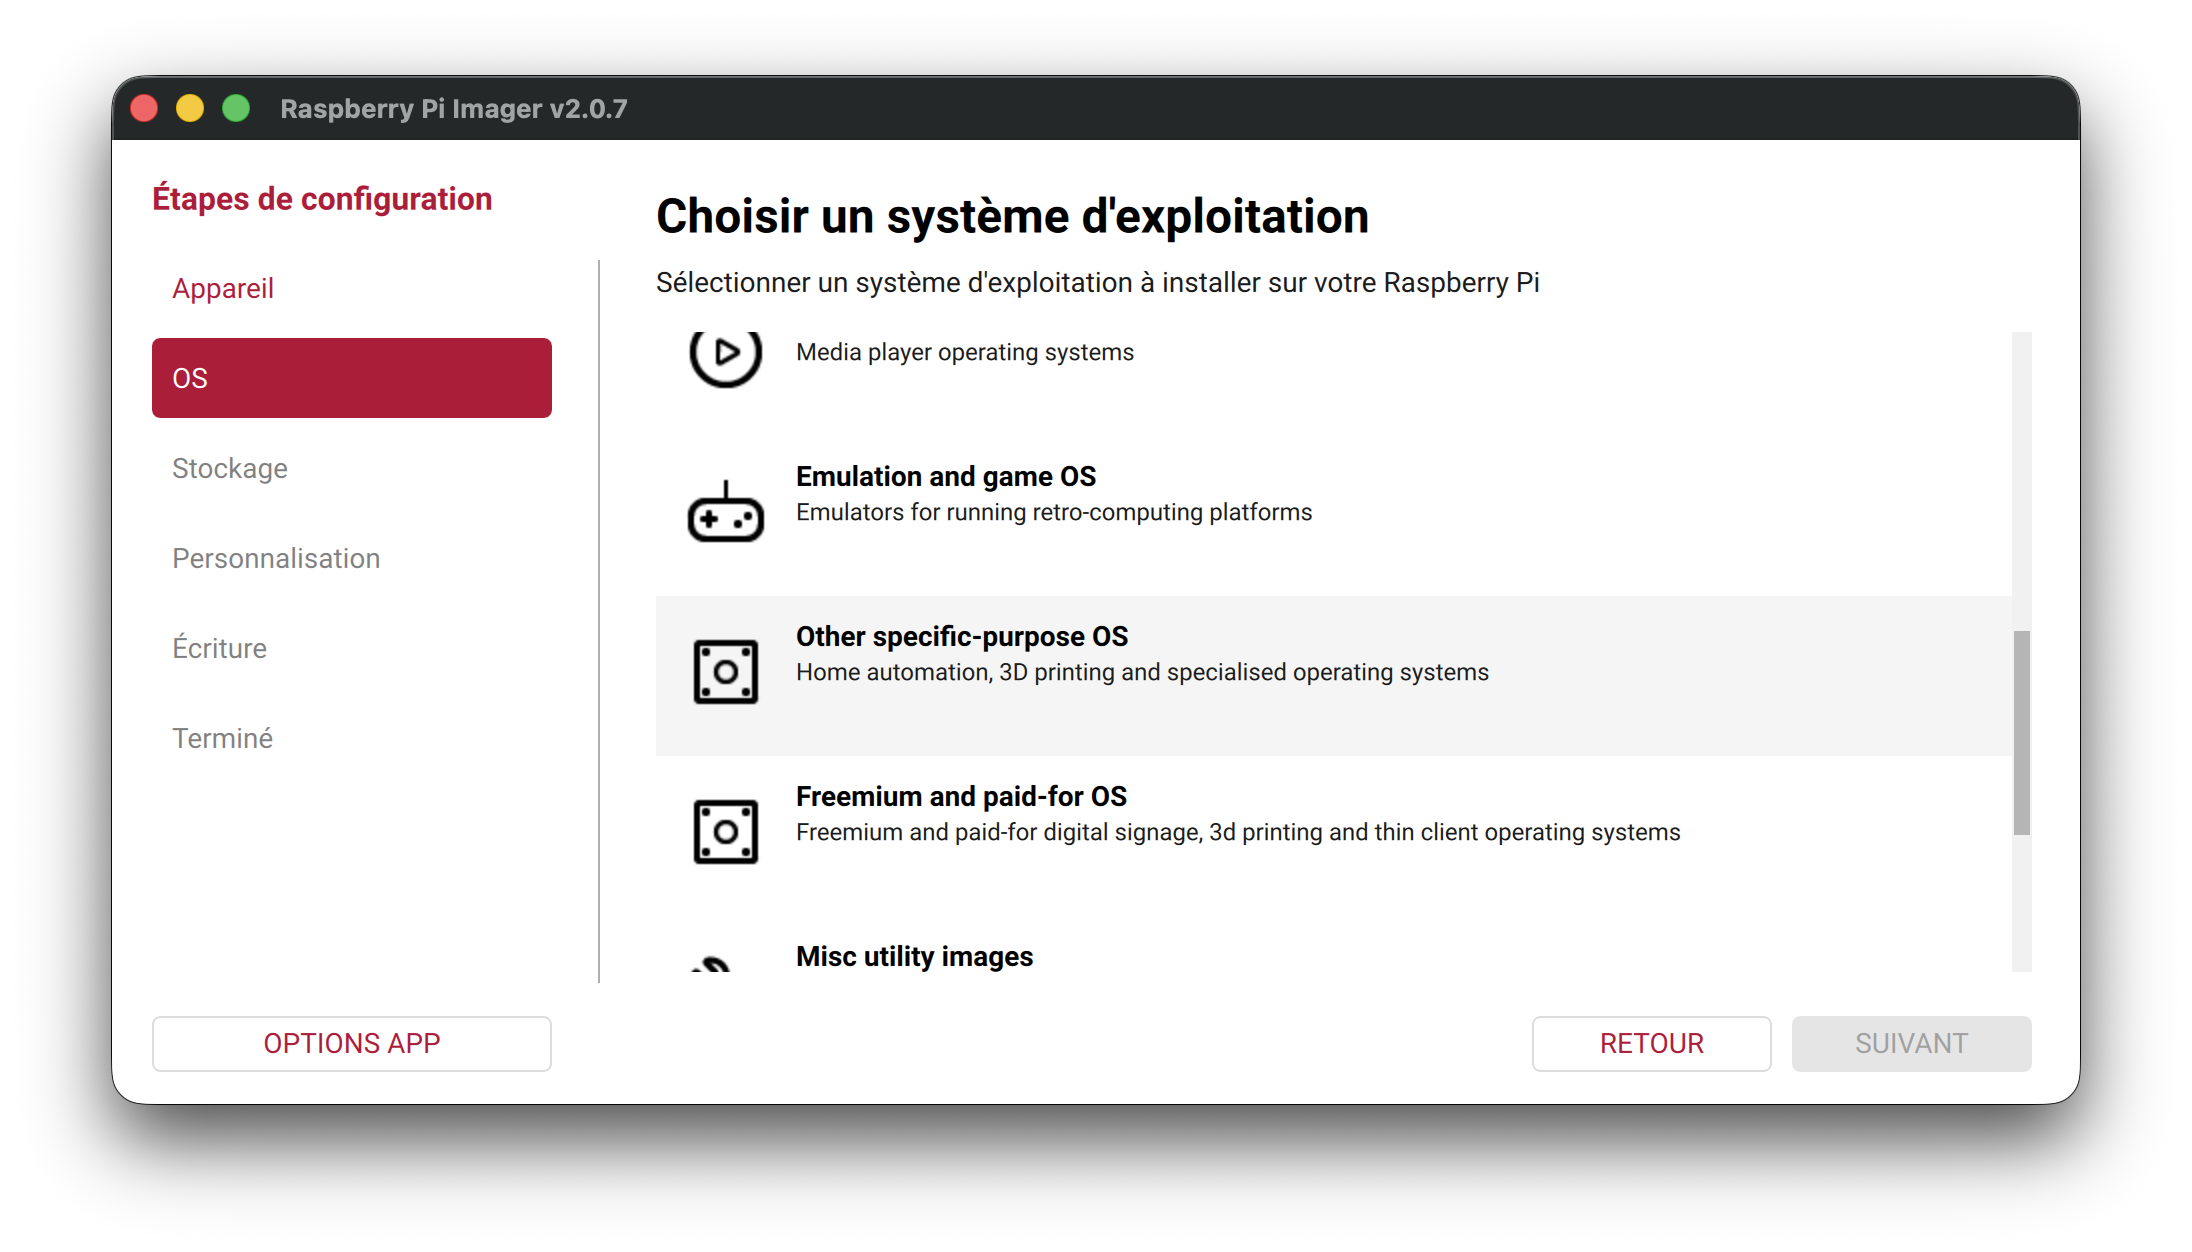
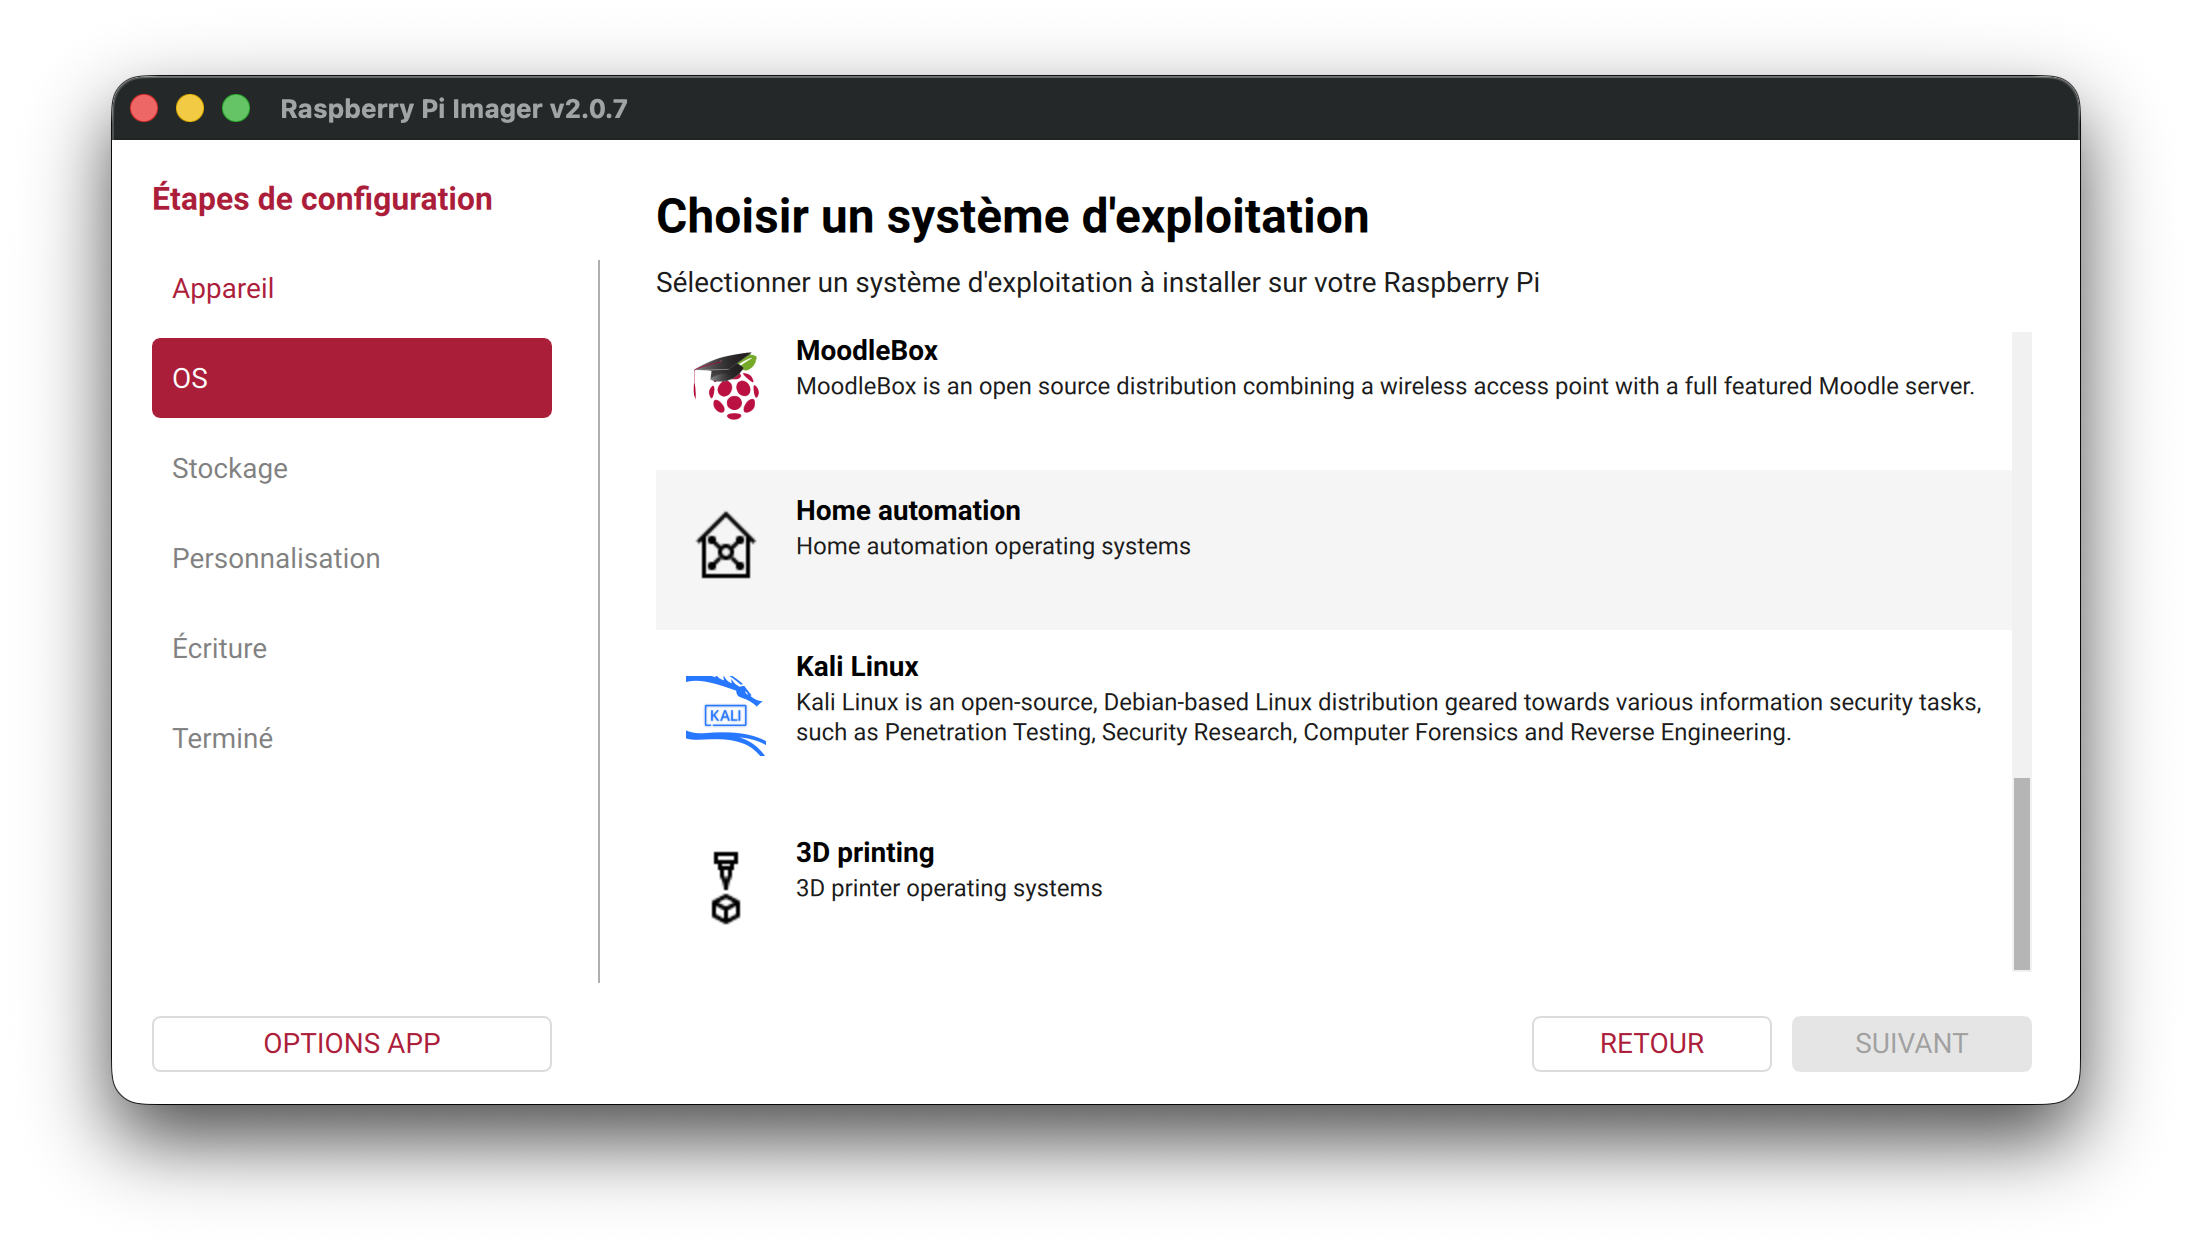
Click Choose OS, then navigate through the following categories:
- Other specific-purpose OS
- Home automation
- Gladys Assistant
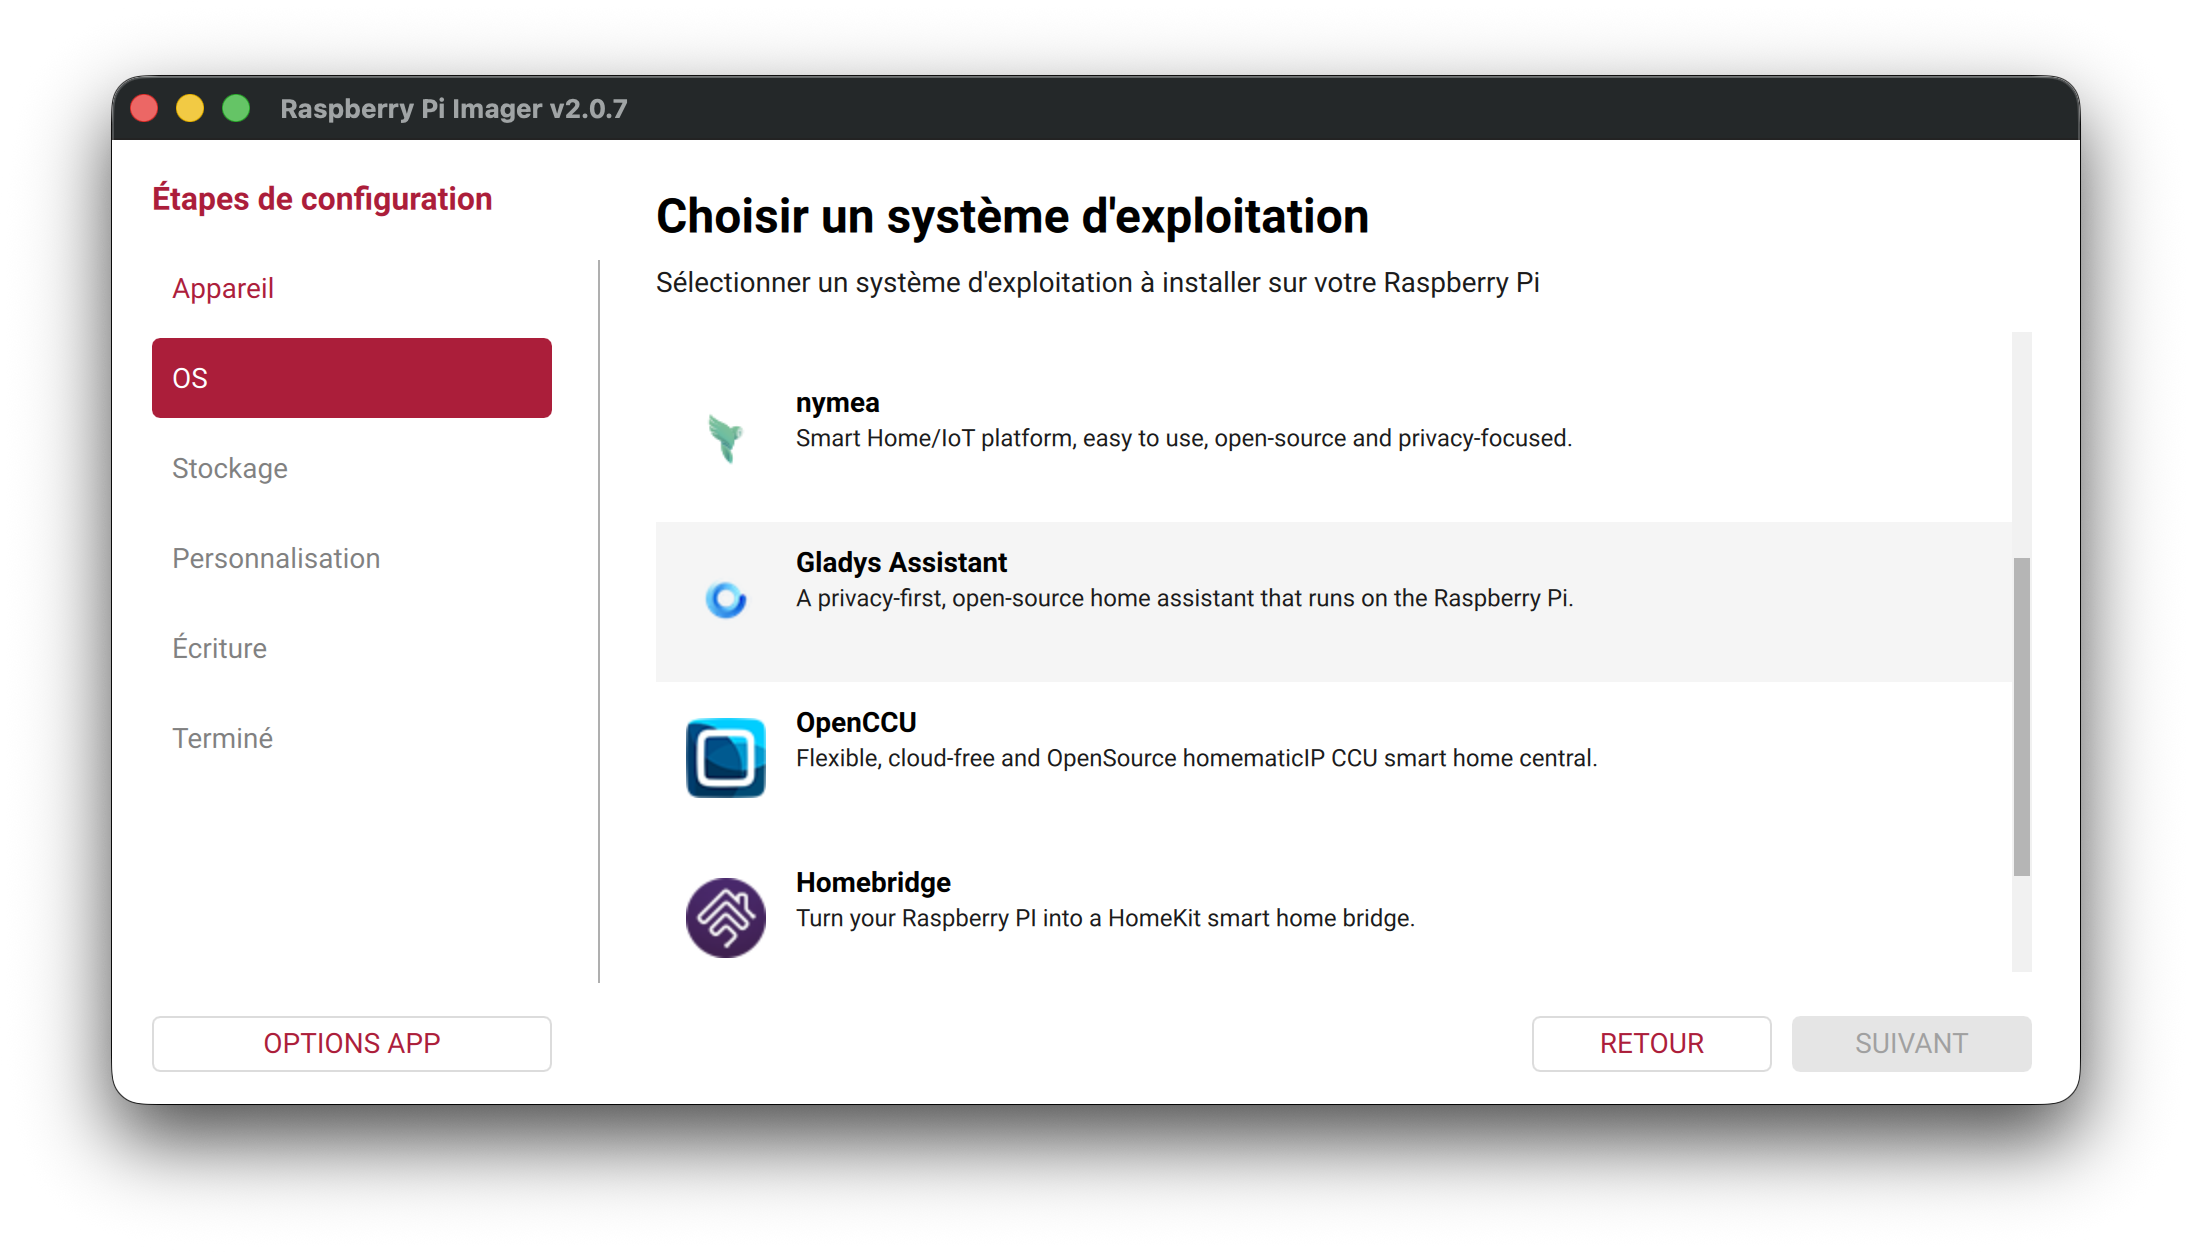
Then select the Gladys Assistant (64-bit, for Rpi 3, 4 & 5) image:
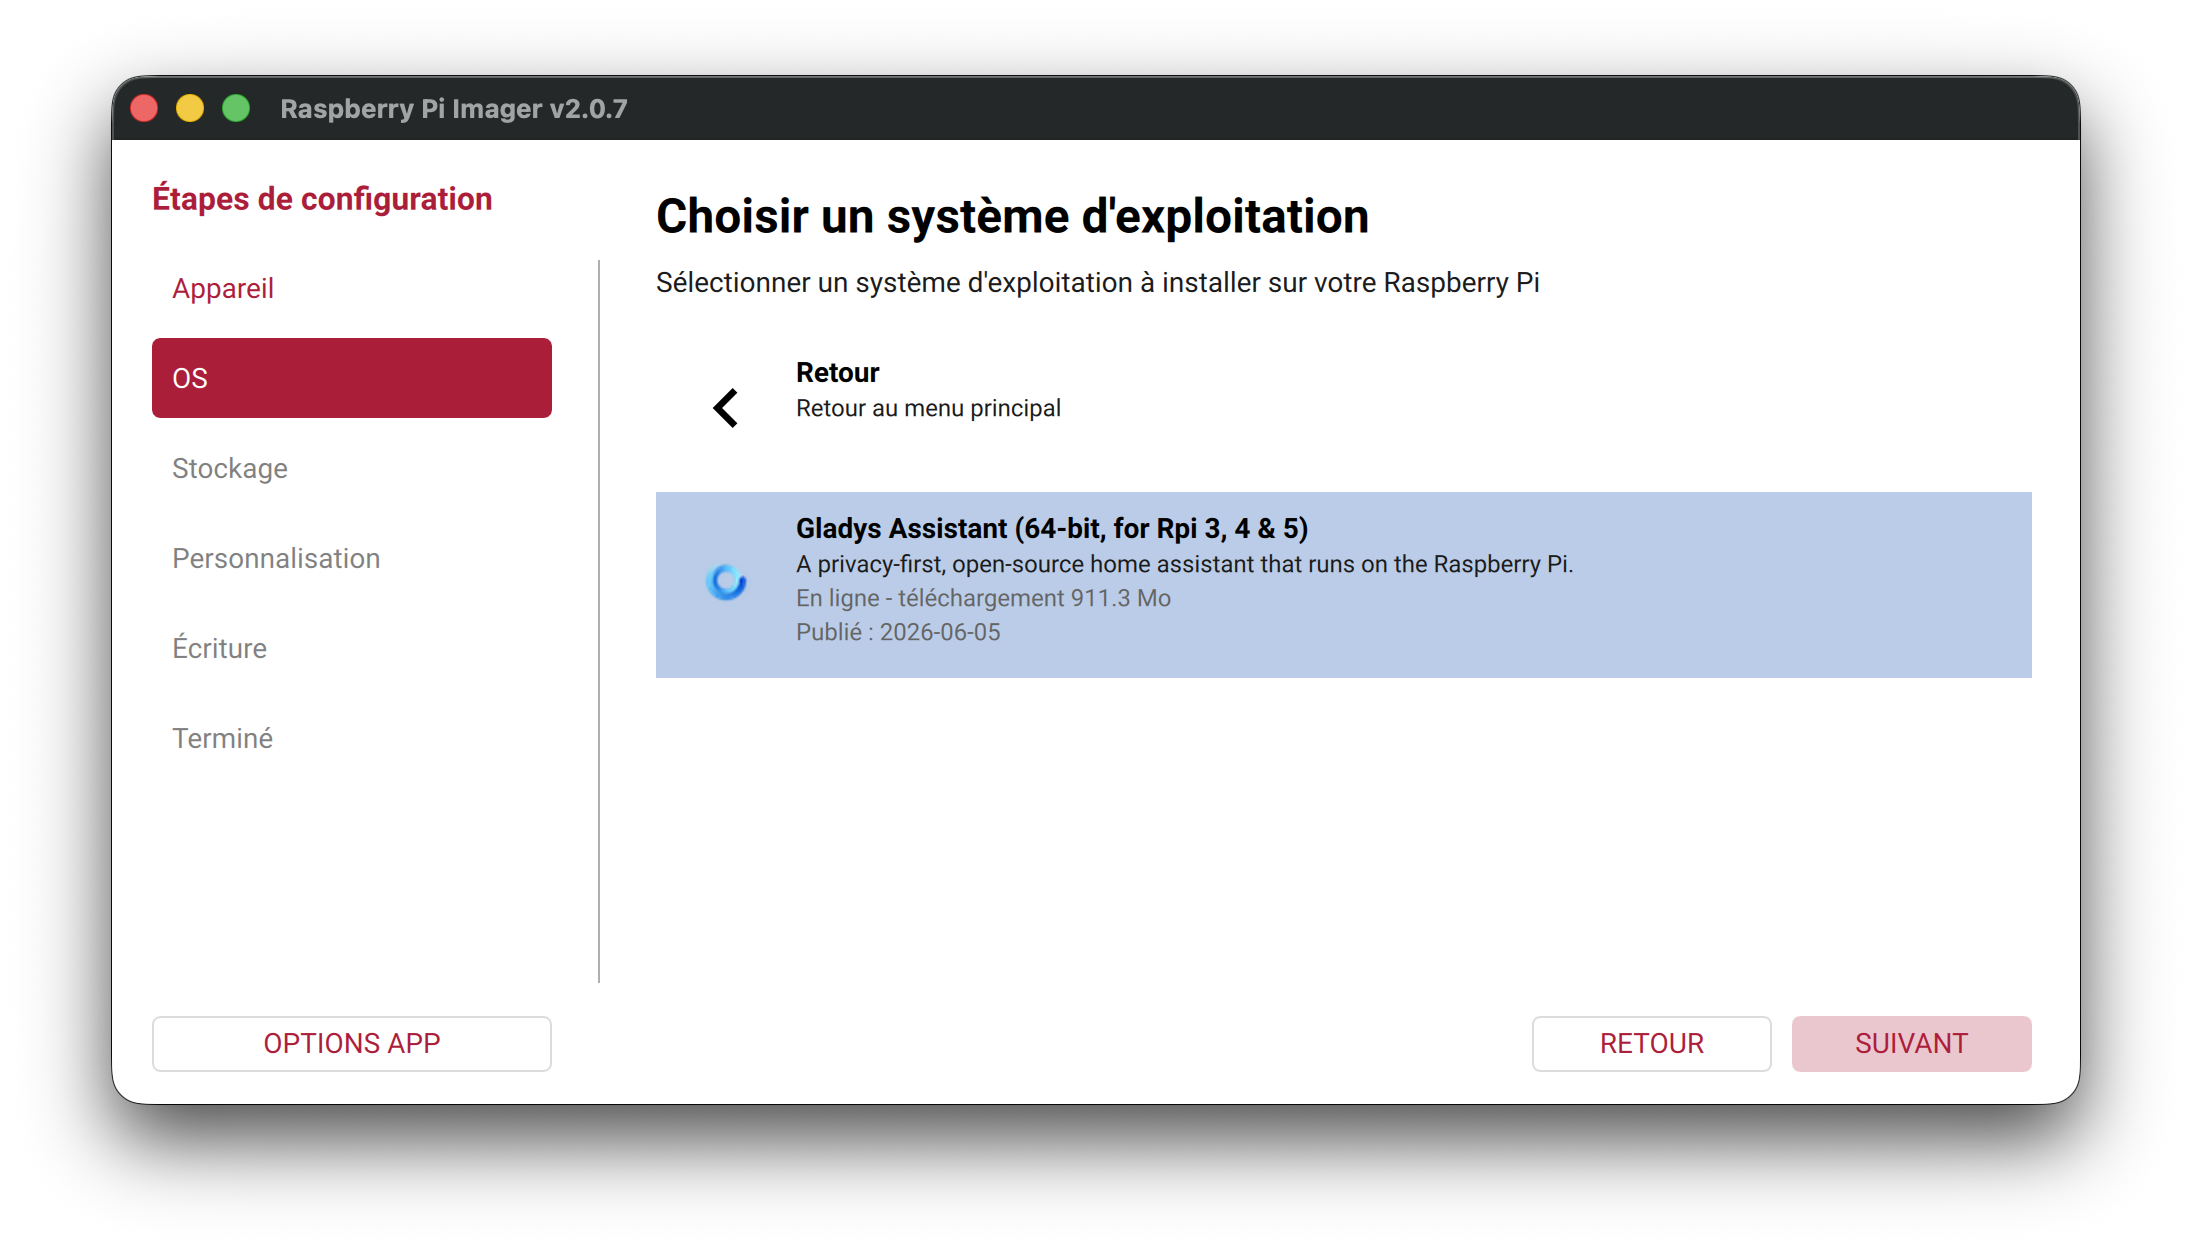
The image is about 900 MB to download. Raspberry Pi Imager handles everything: download, verification, and writing to your storage device.
Step 4: Choose Storage
Insert your micro-SD card or plug in your USB SSD, then click Choose Storage and select the corresponding device:
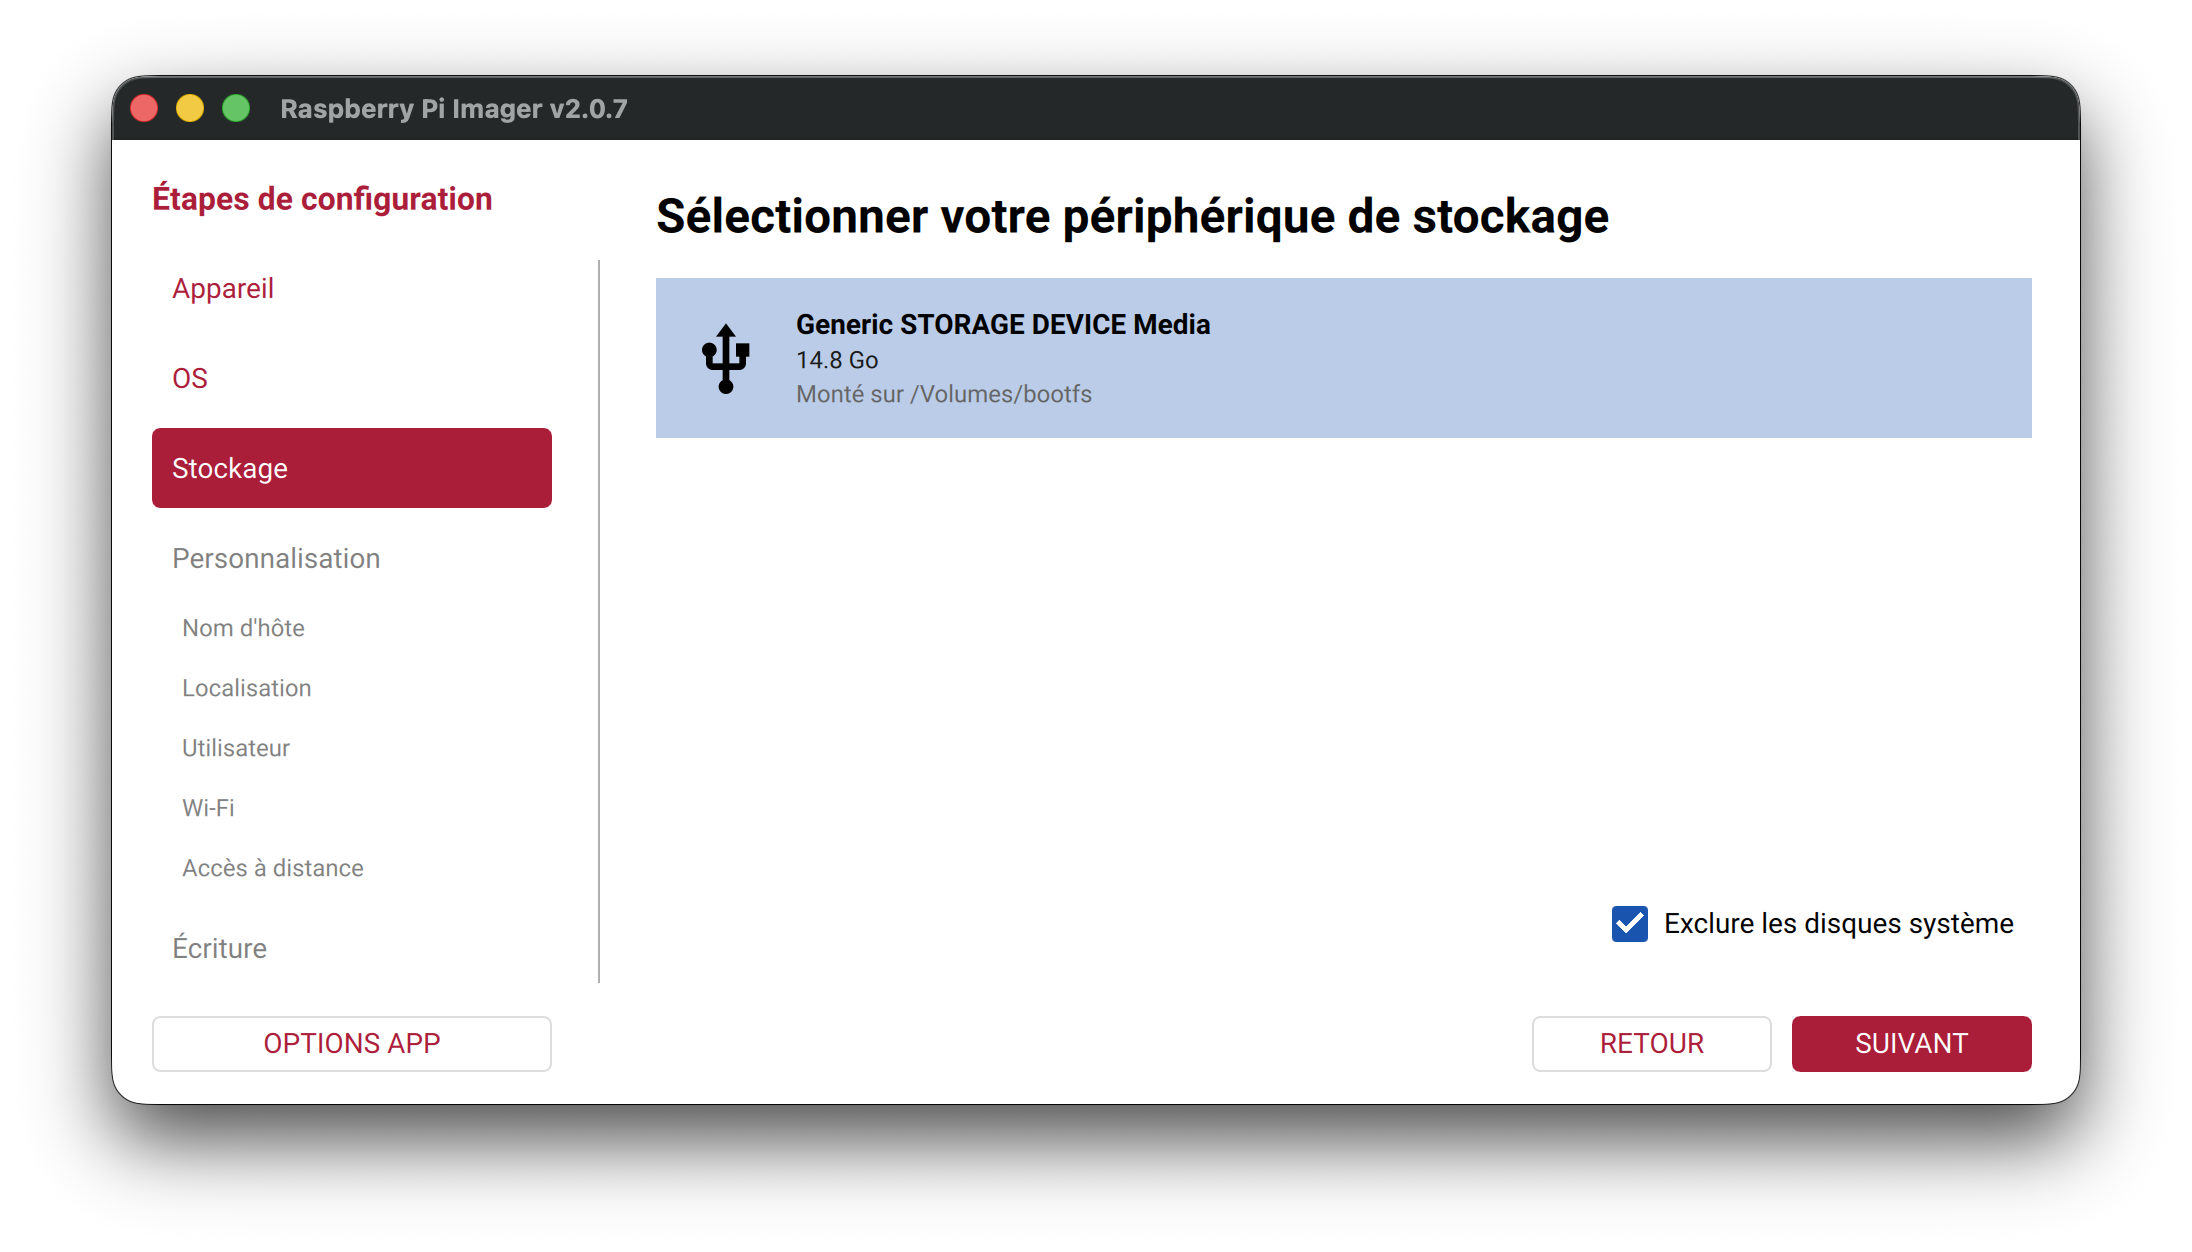
Make sure you select the correct device: all data on this drive will be erased.
Step 5: Customize the Installation (Recommended)
Before writing the image, configure your Raspberry Pi settings. This saves you from needing to connect a screen and keyboard on first boot.
Hostname
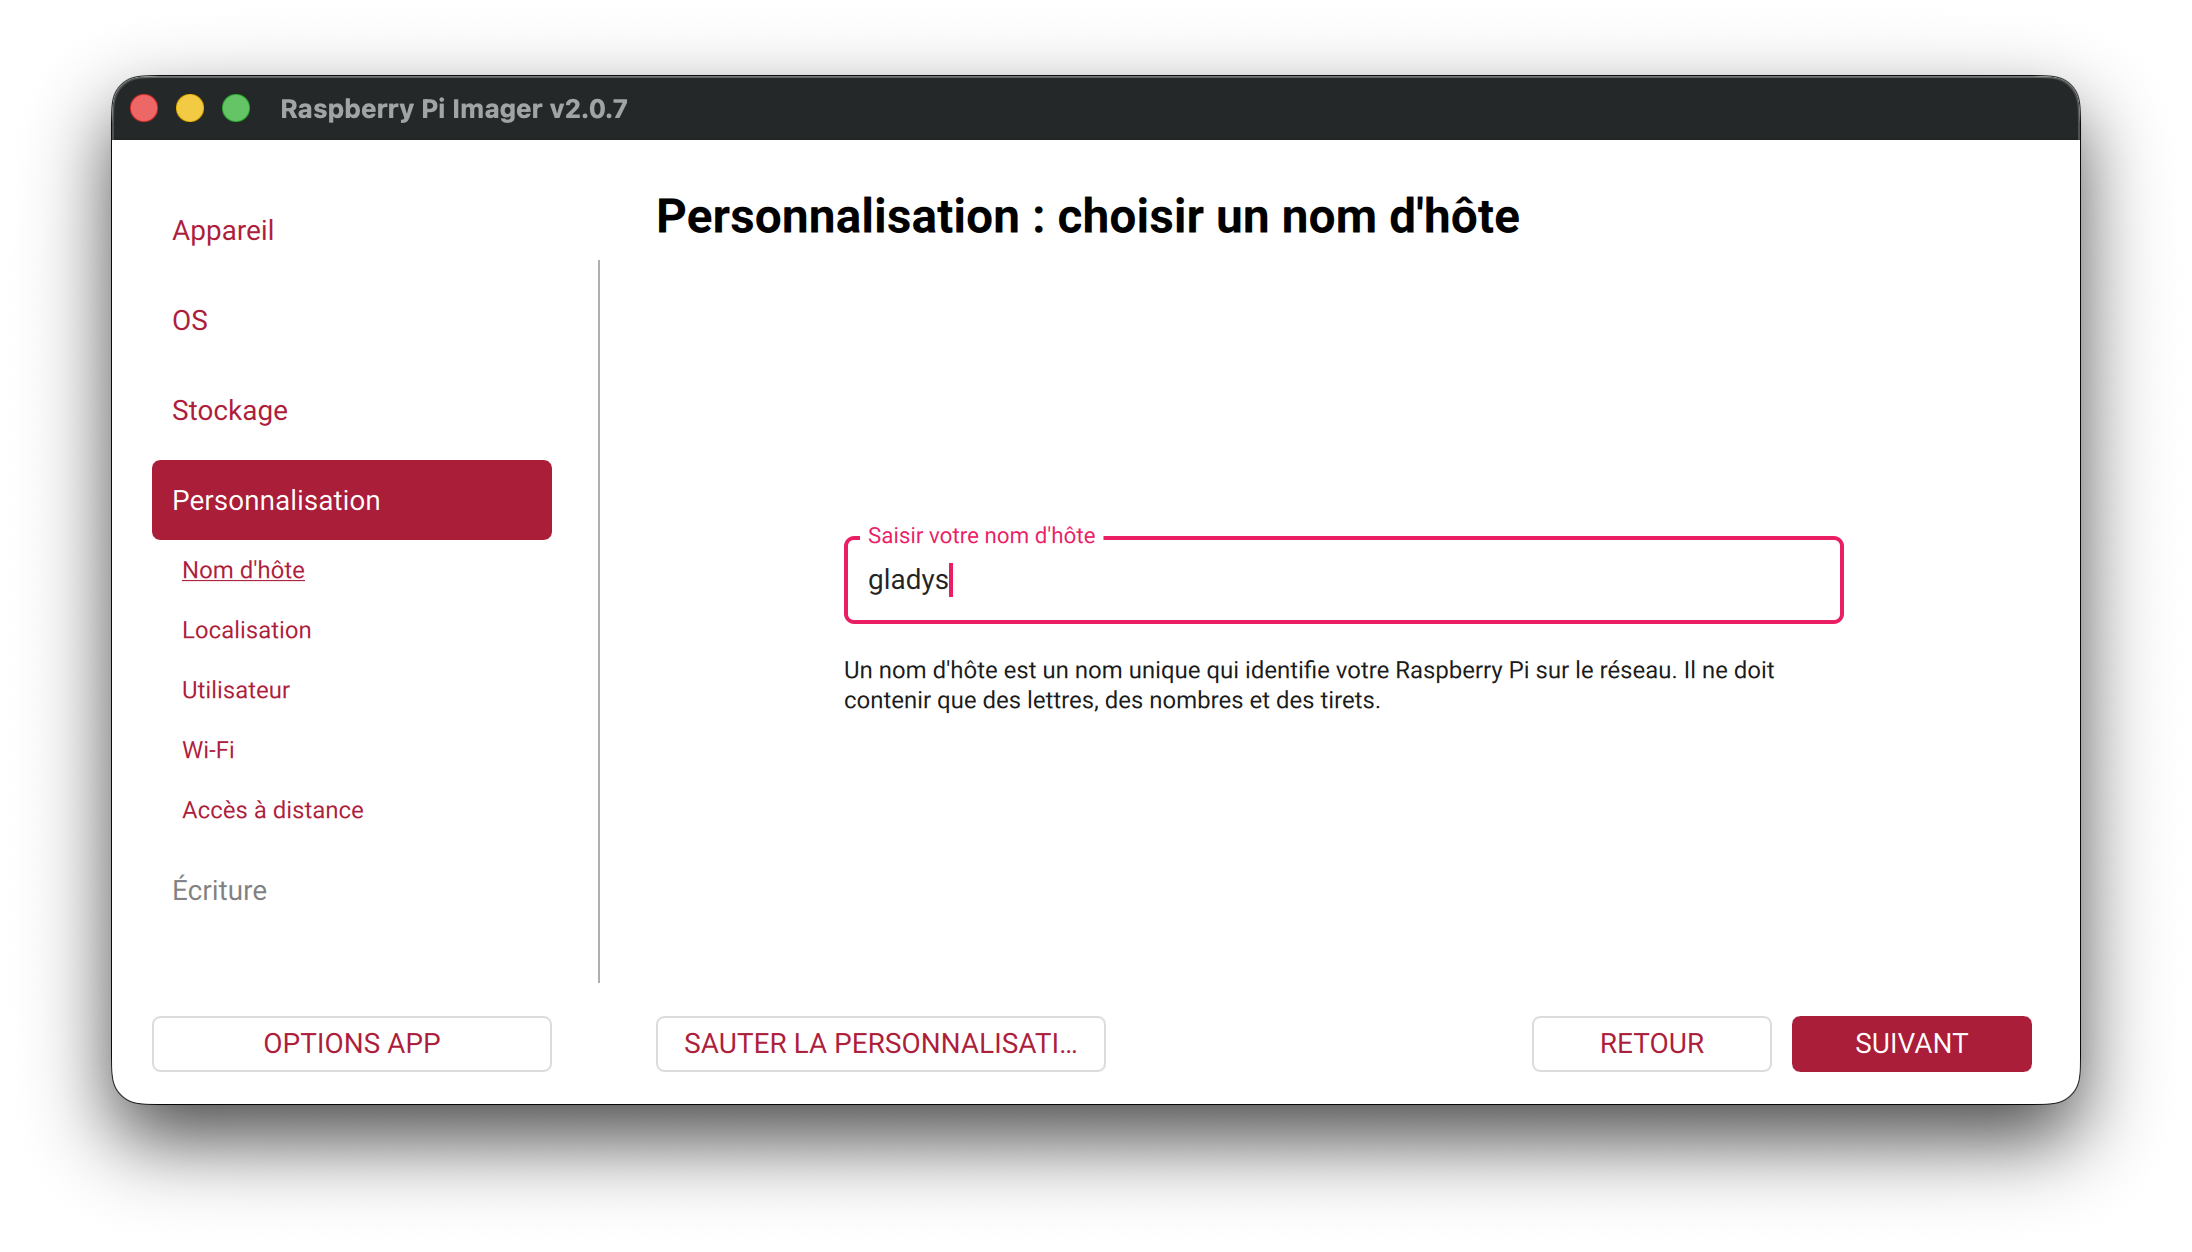
Choose a network name for your Raspberry Pi. For example gladys, you'll then be able to access it at http://gladys.local:
Localization
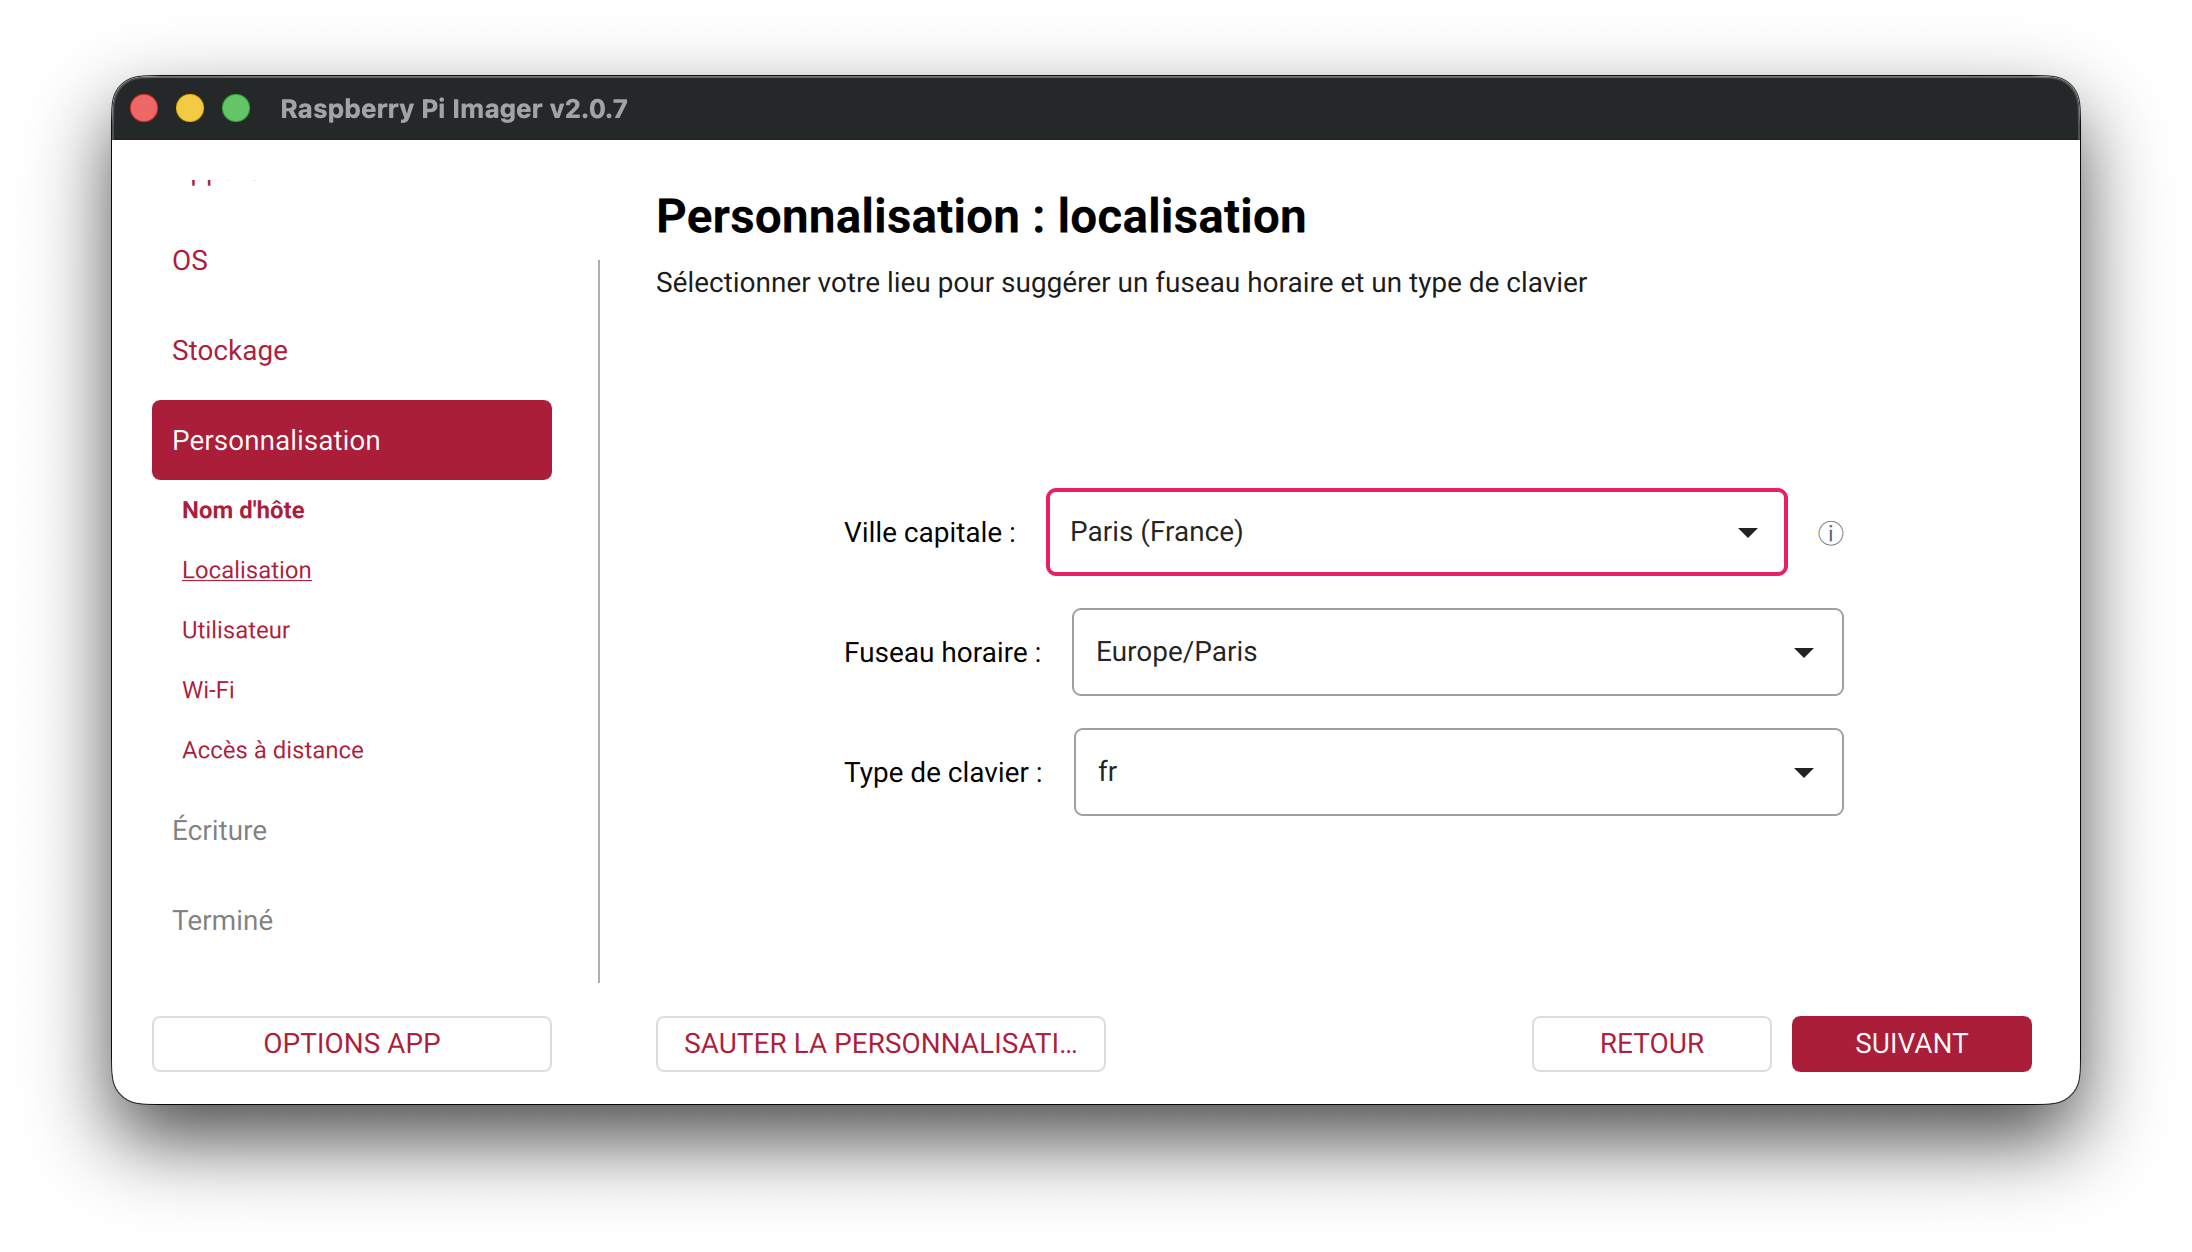
Select your city, time zone, and keyboard layout:
User Account
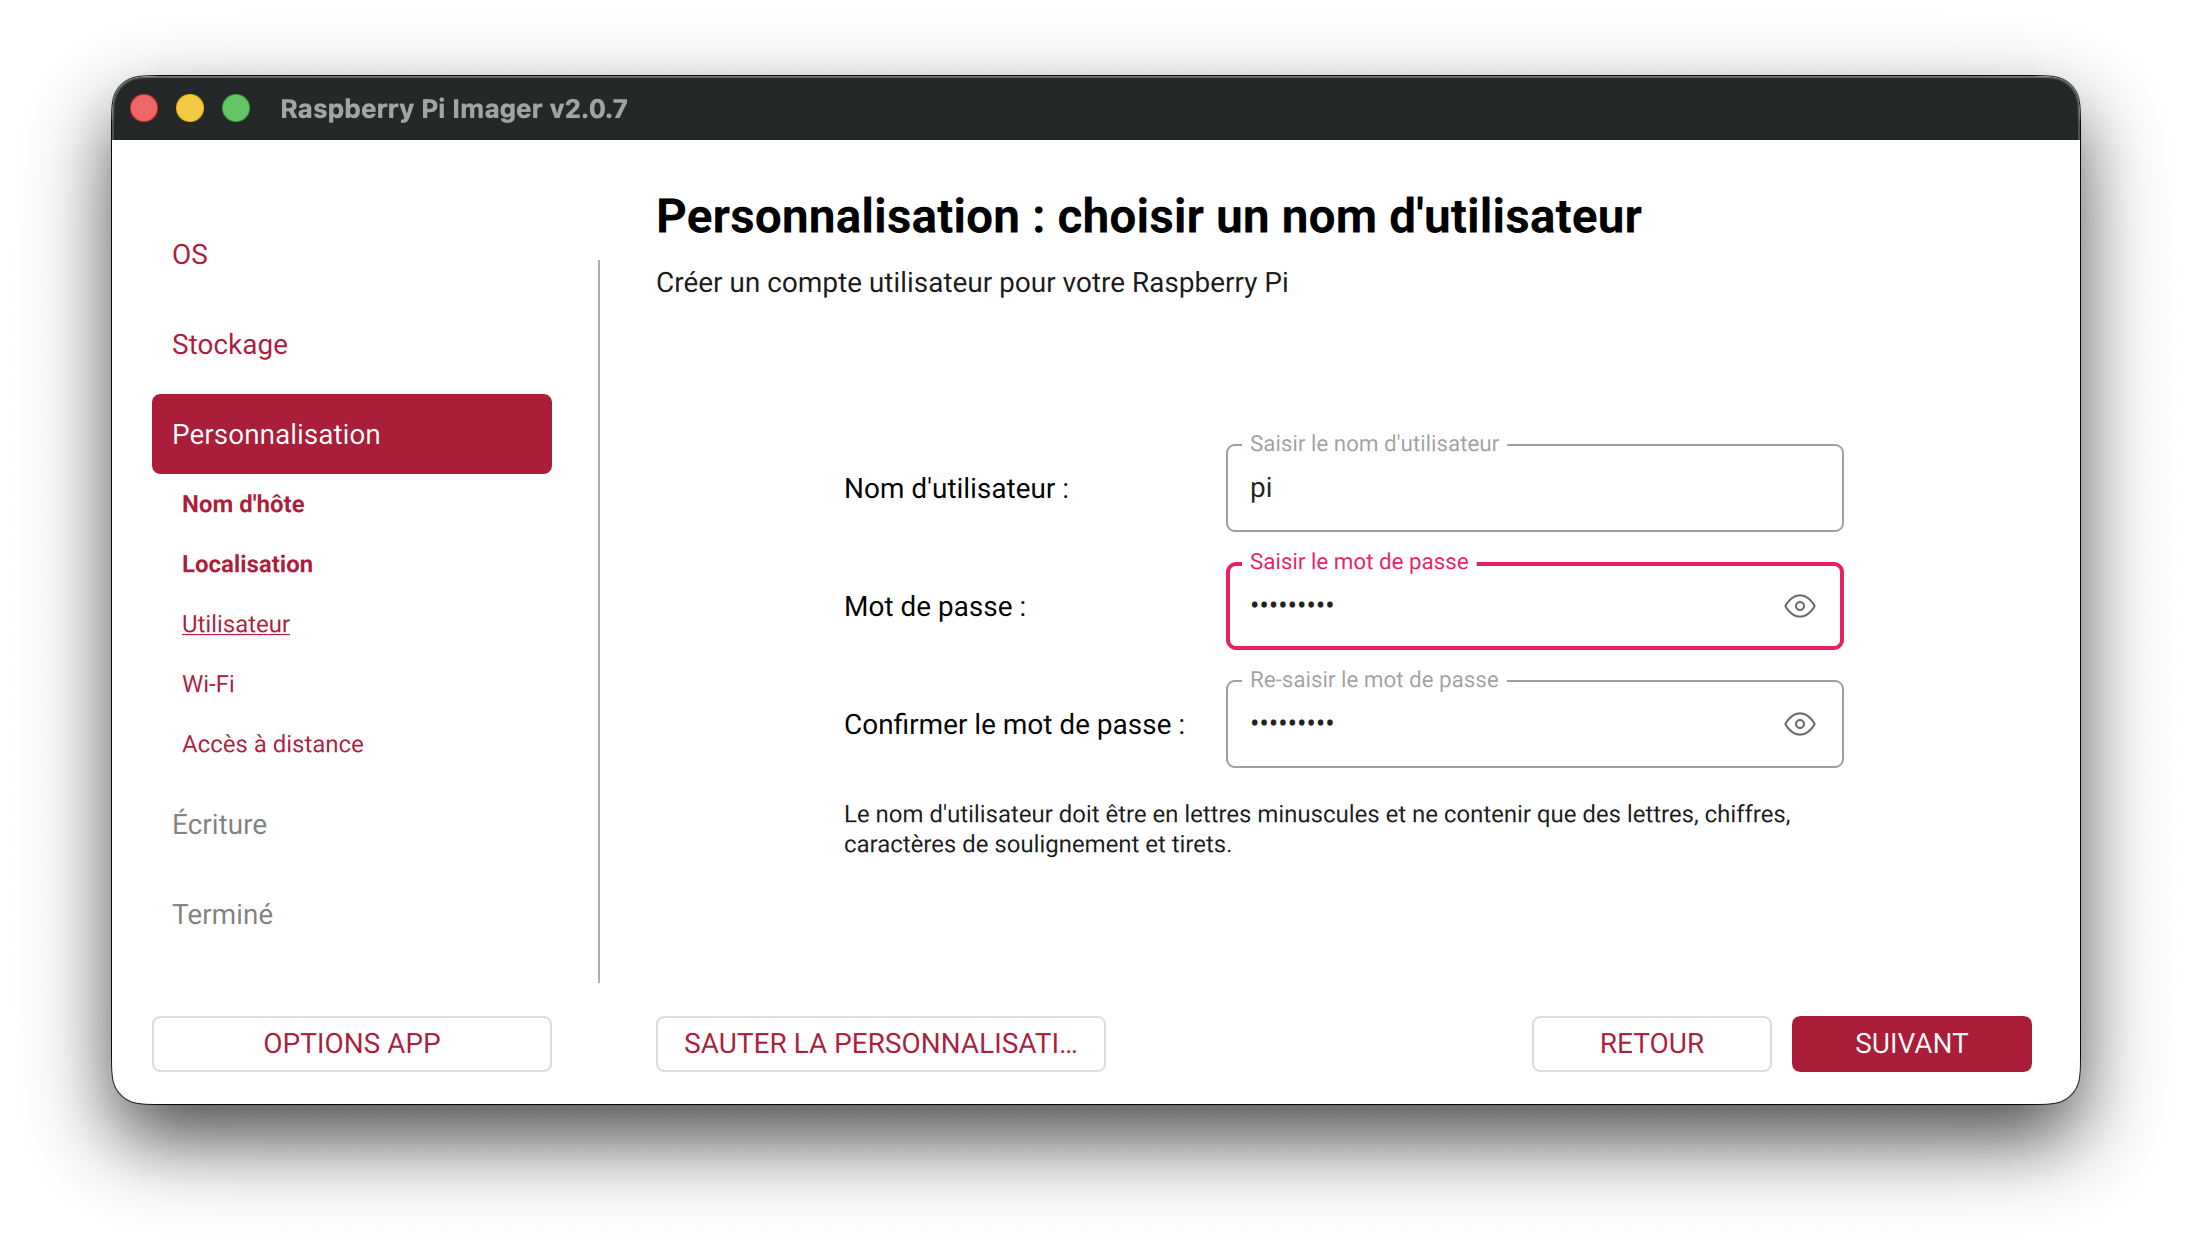
Create a username and password. This account will be used for SSH access and system login:
Wi-Fi (Optional)
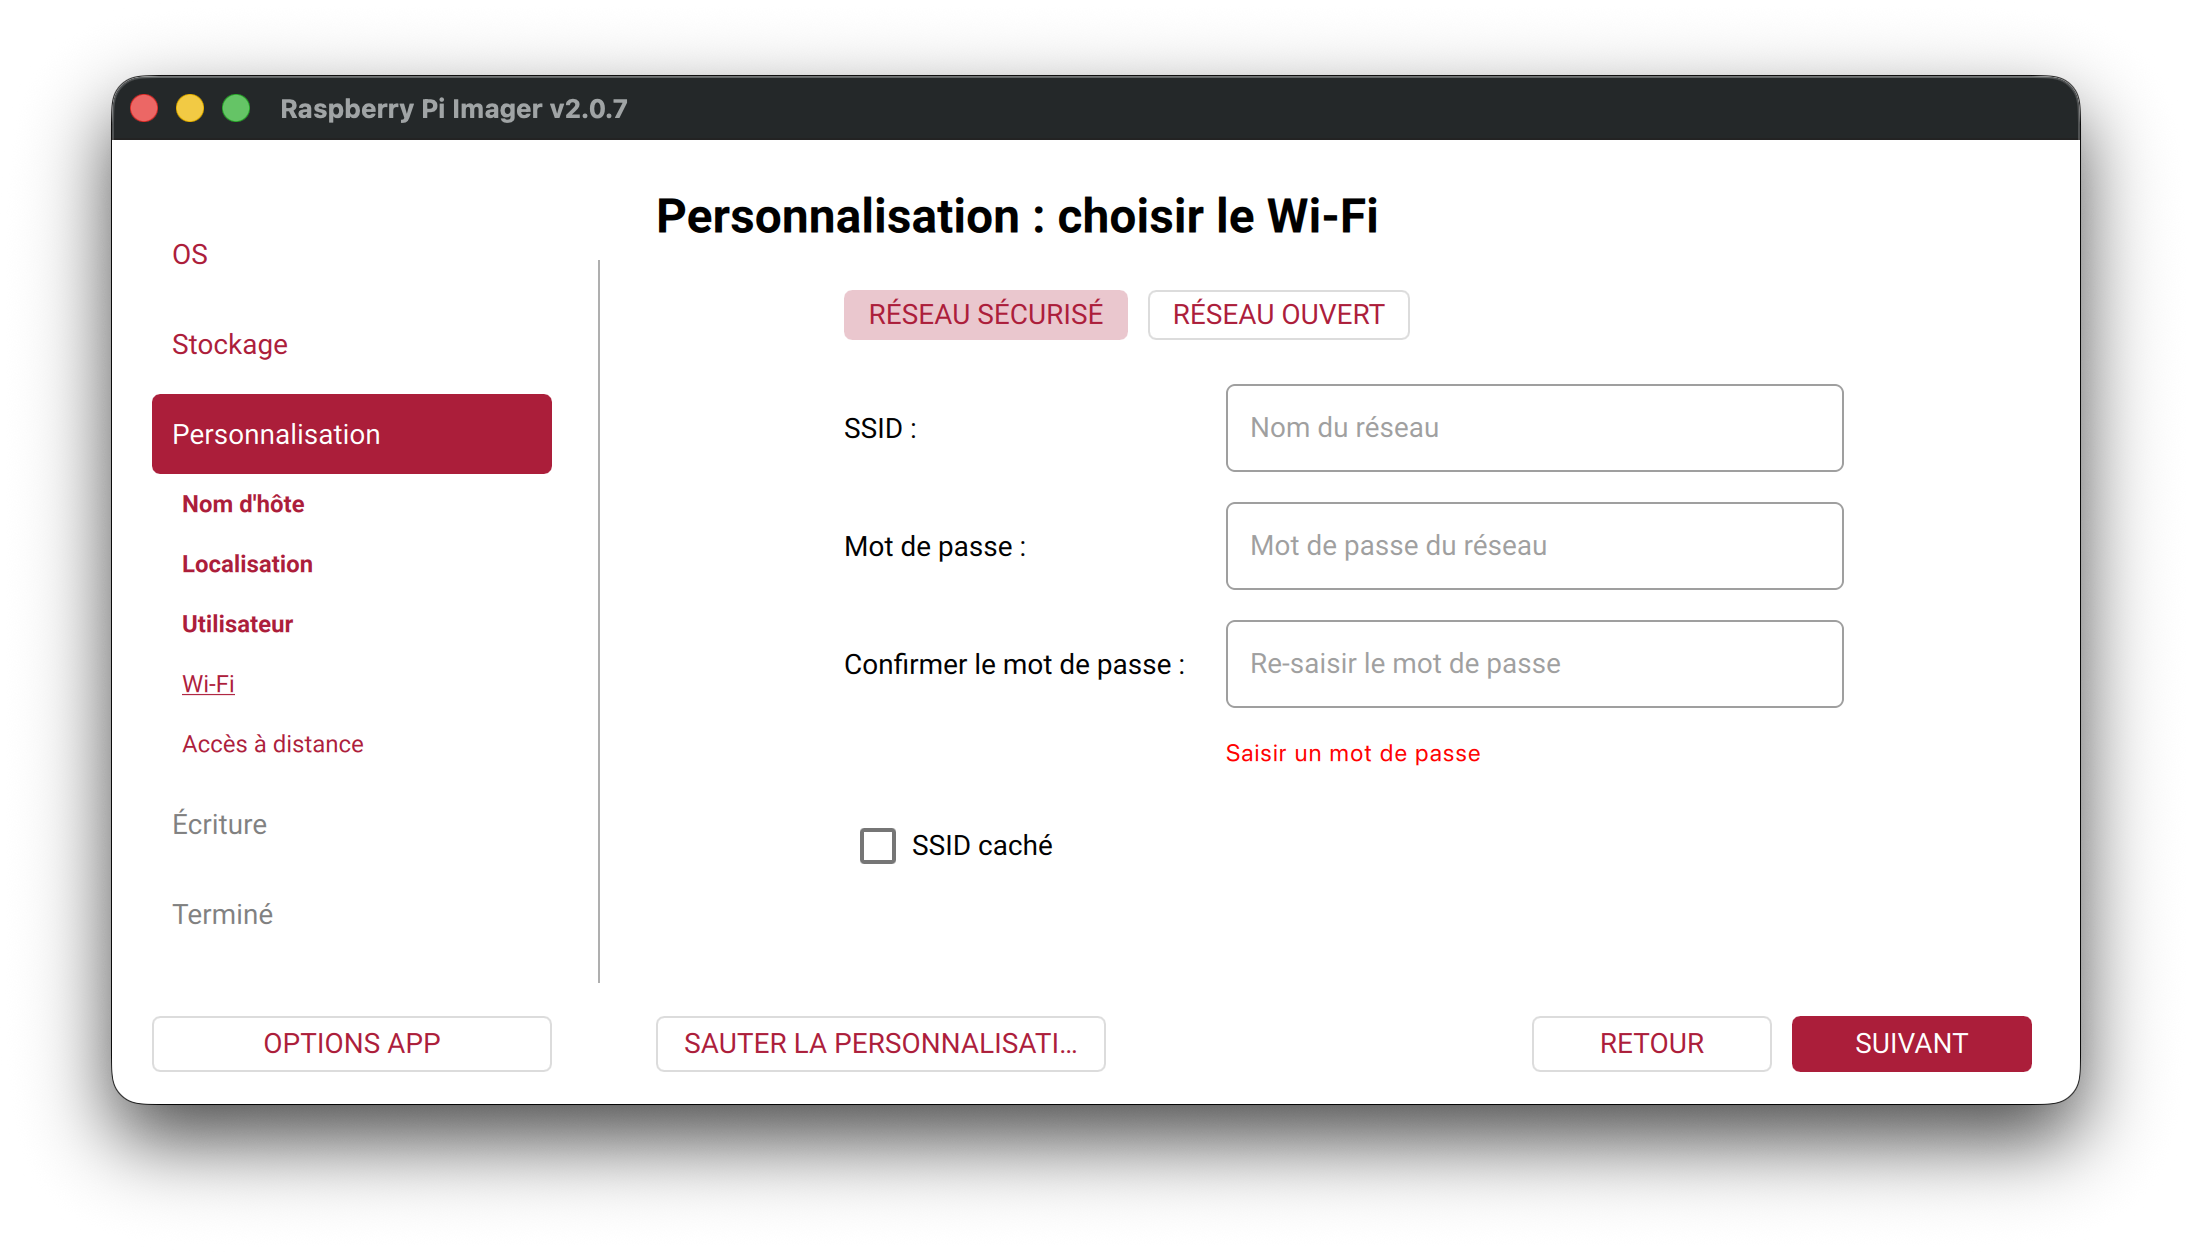
If you're not using an Ethernet cable, enter your Wi-Fi network name and password:
SSH Access (Recommended)
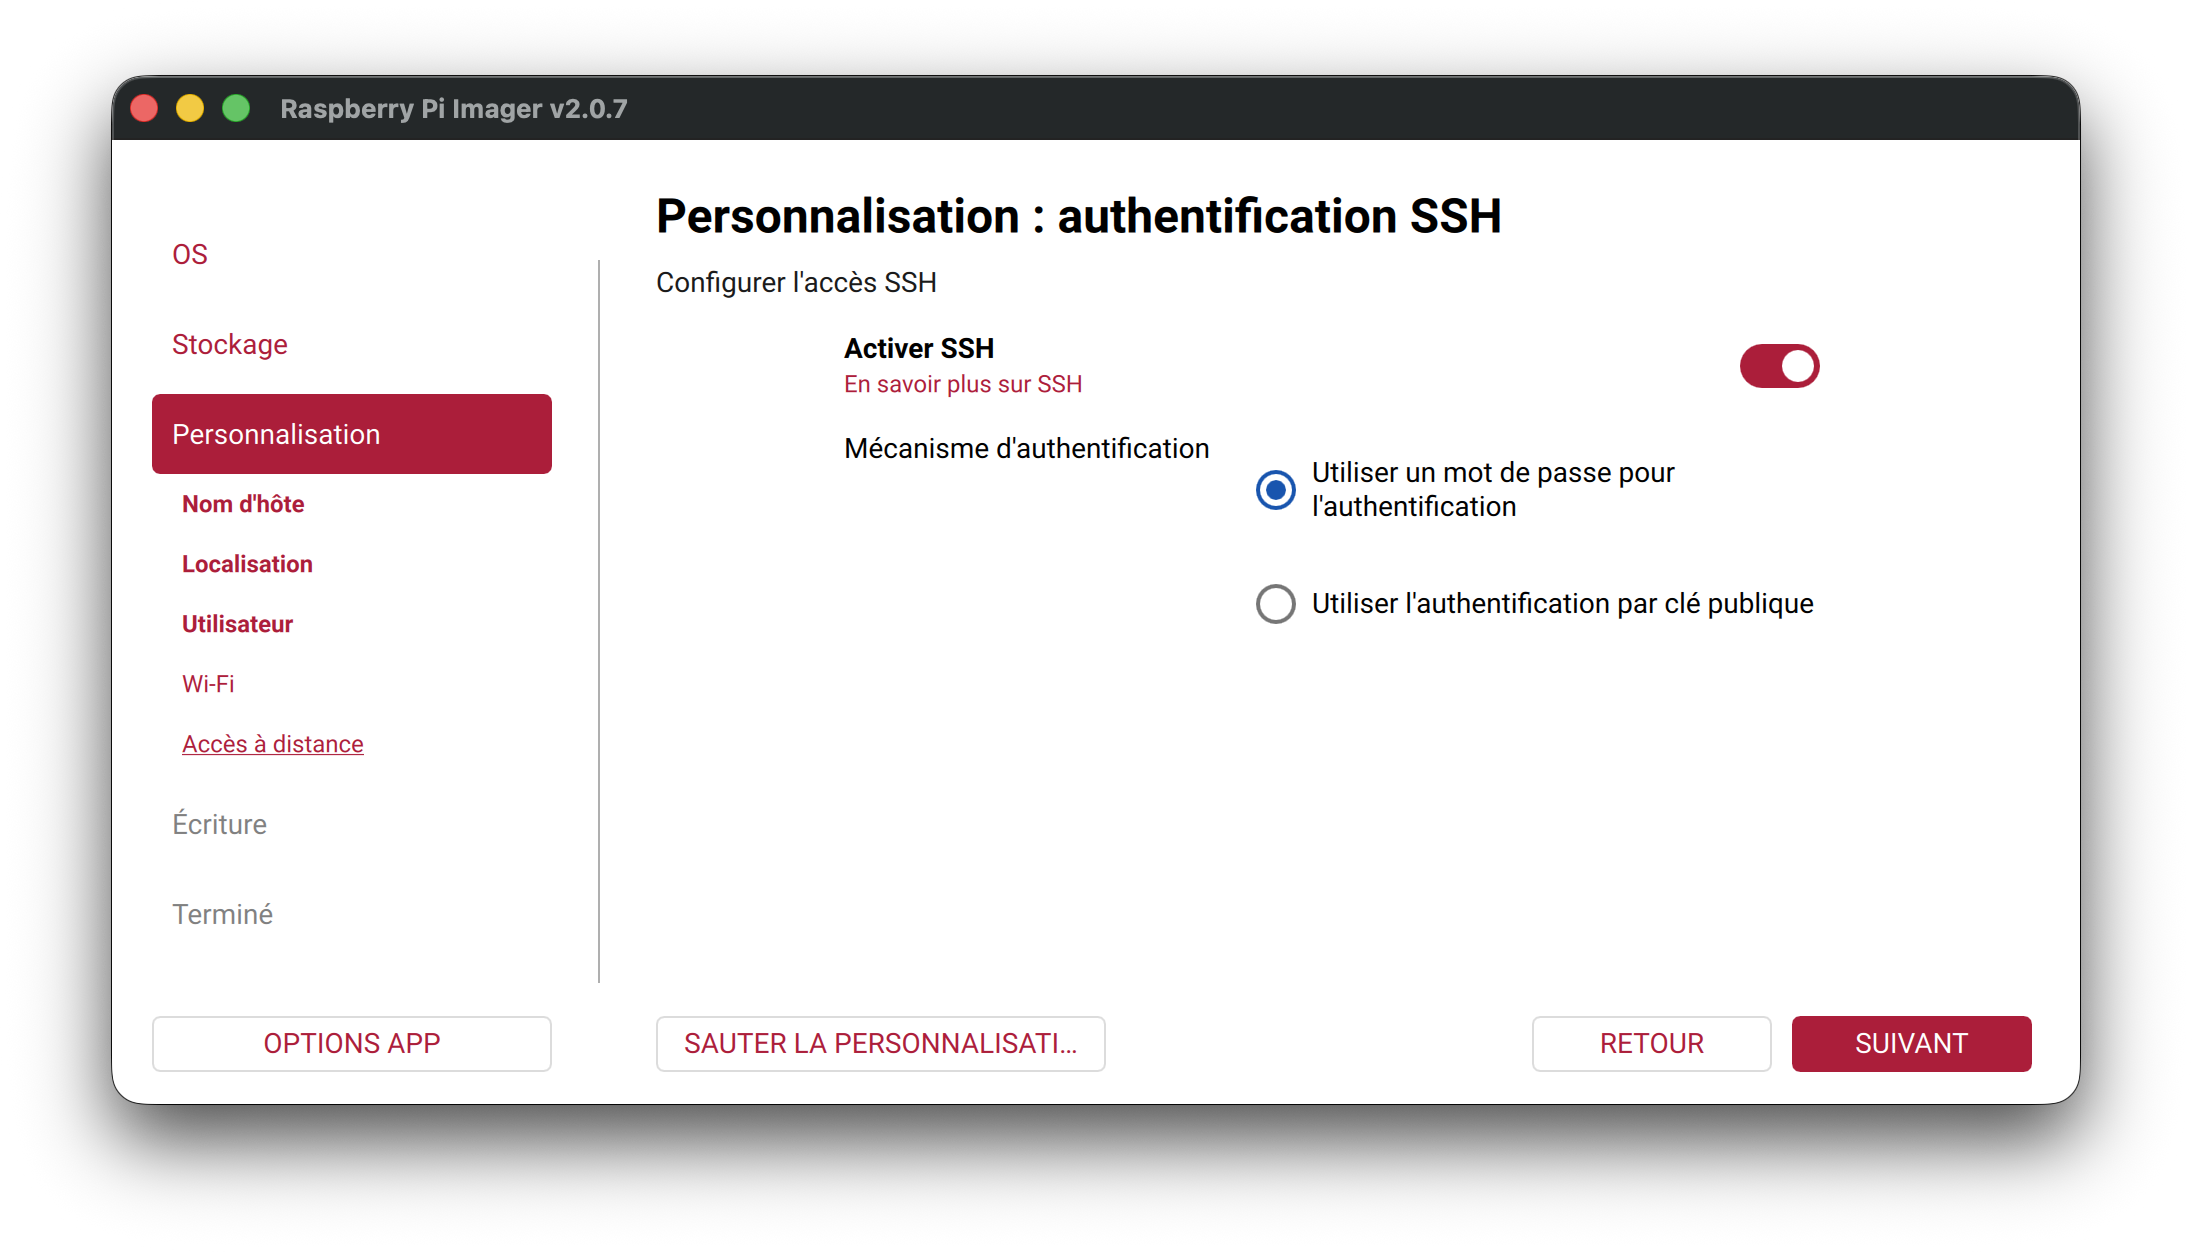
Enable SSH so you can connect to your Raspberry Pi remotely. Password authentication is the simplest way to get started:
Step 6: Write the Image
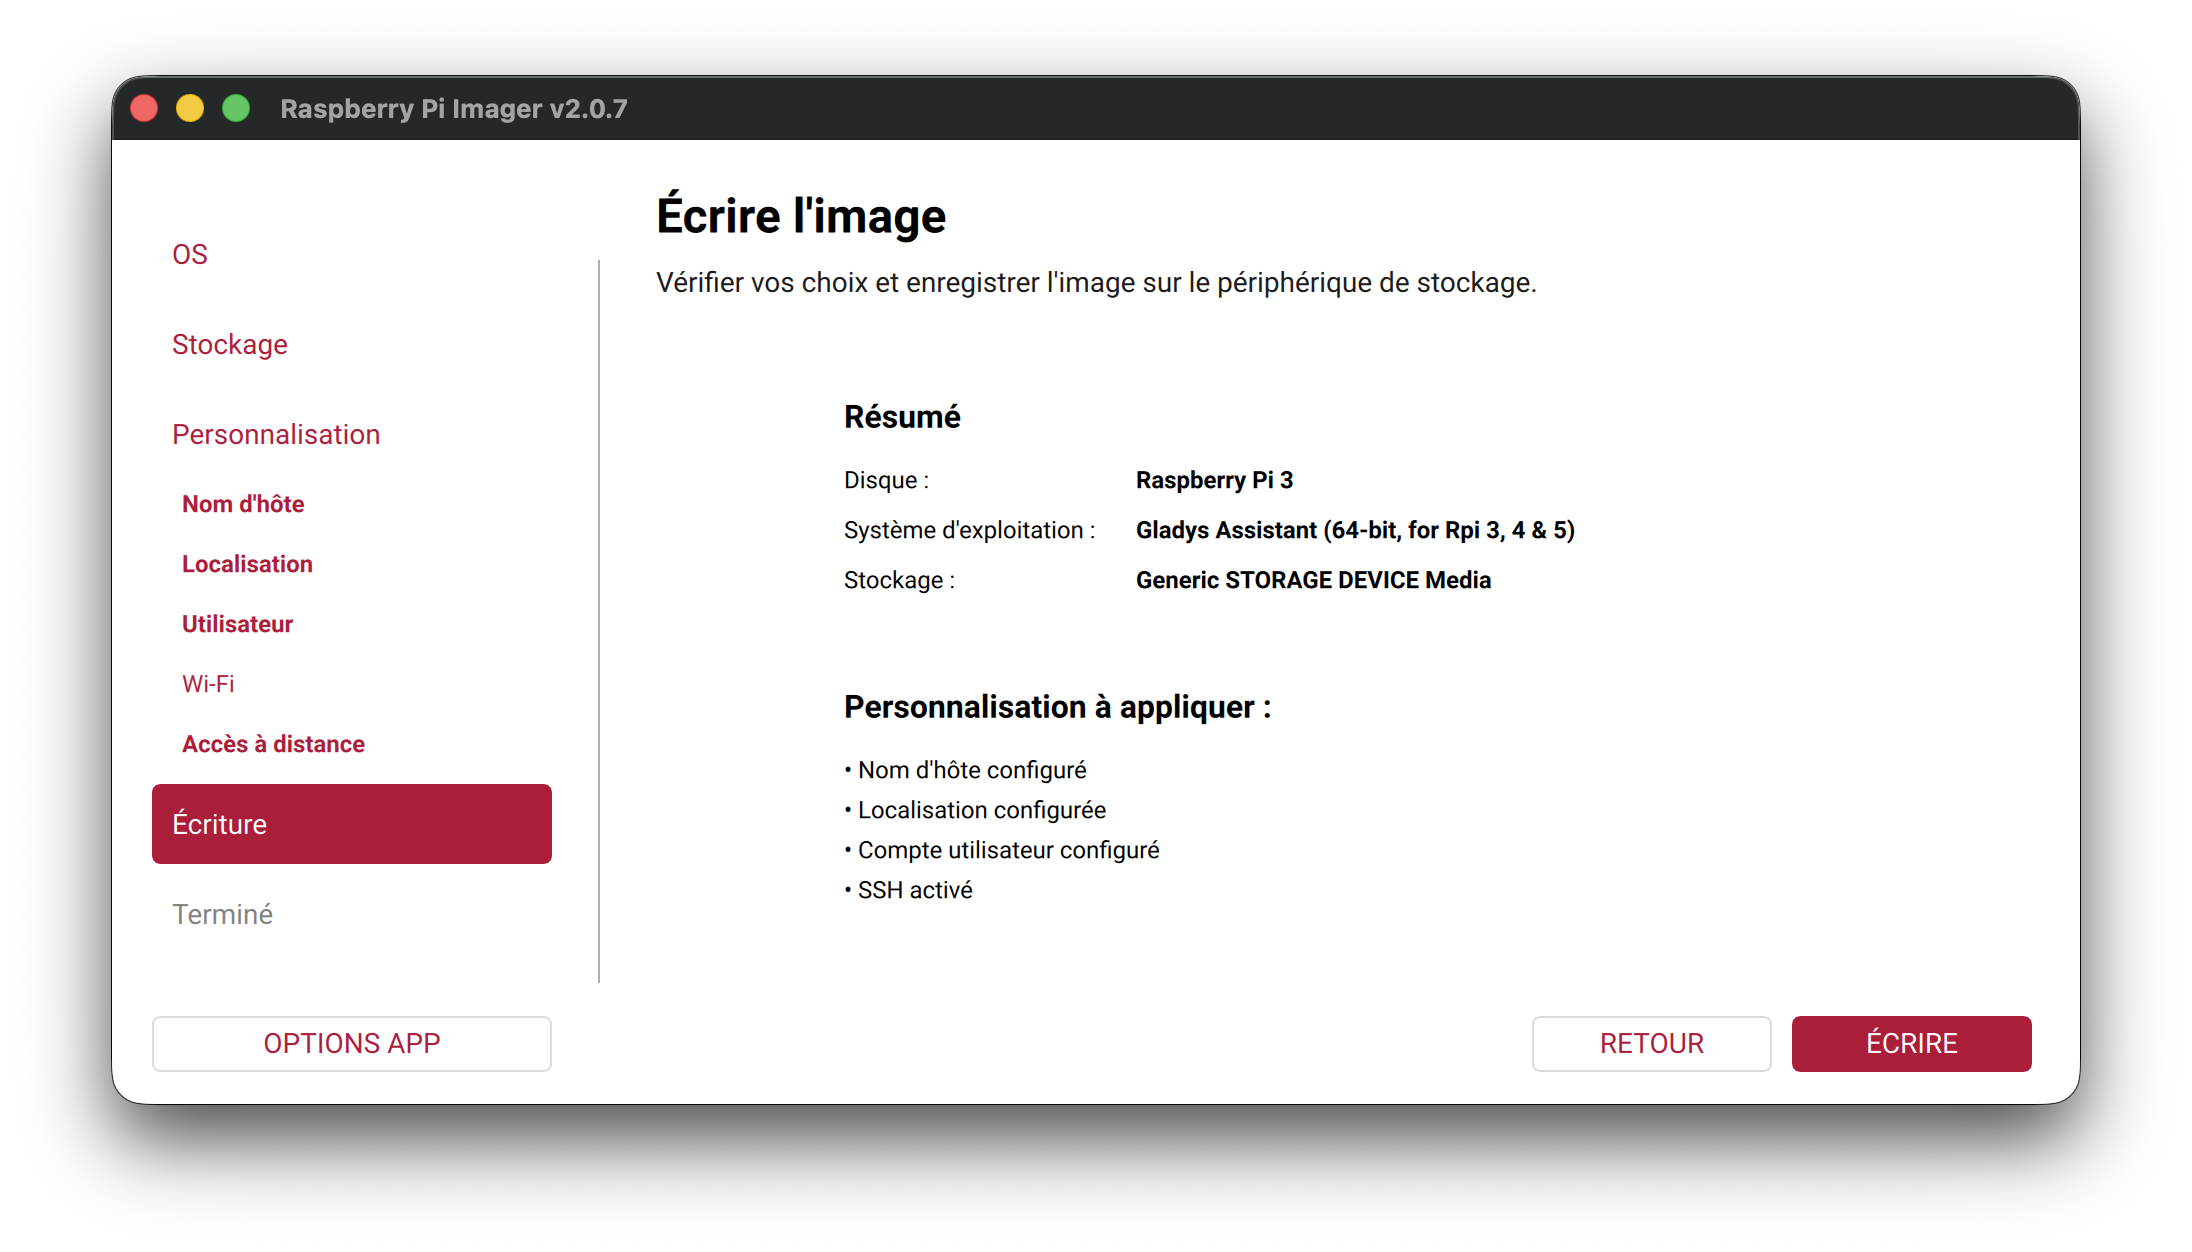
Review the summary of your configuration, then click WRITE:
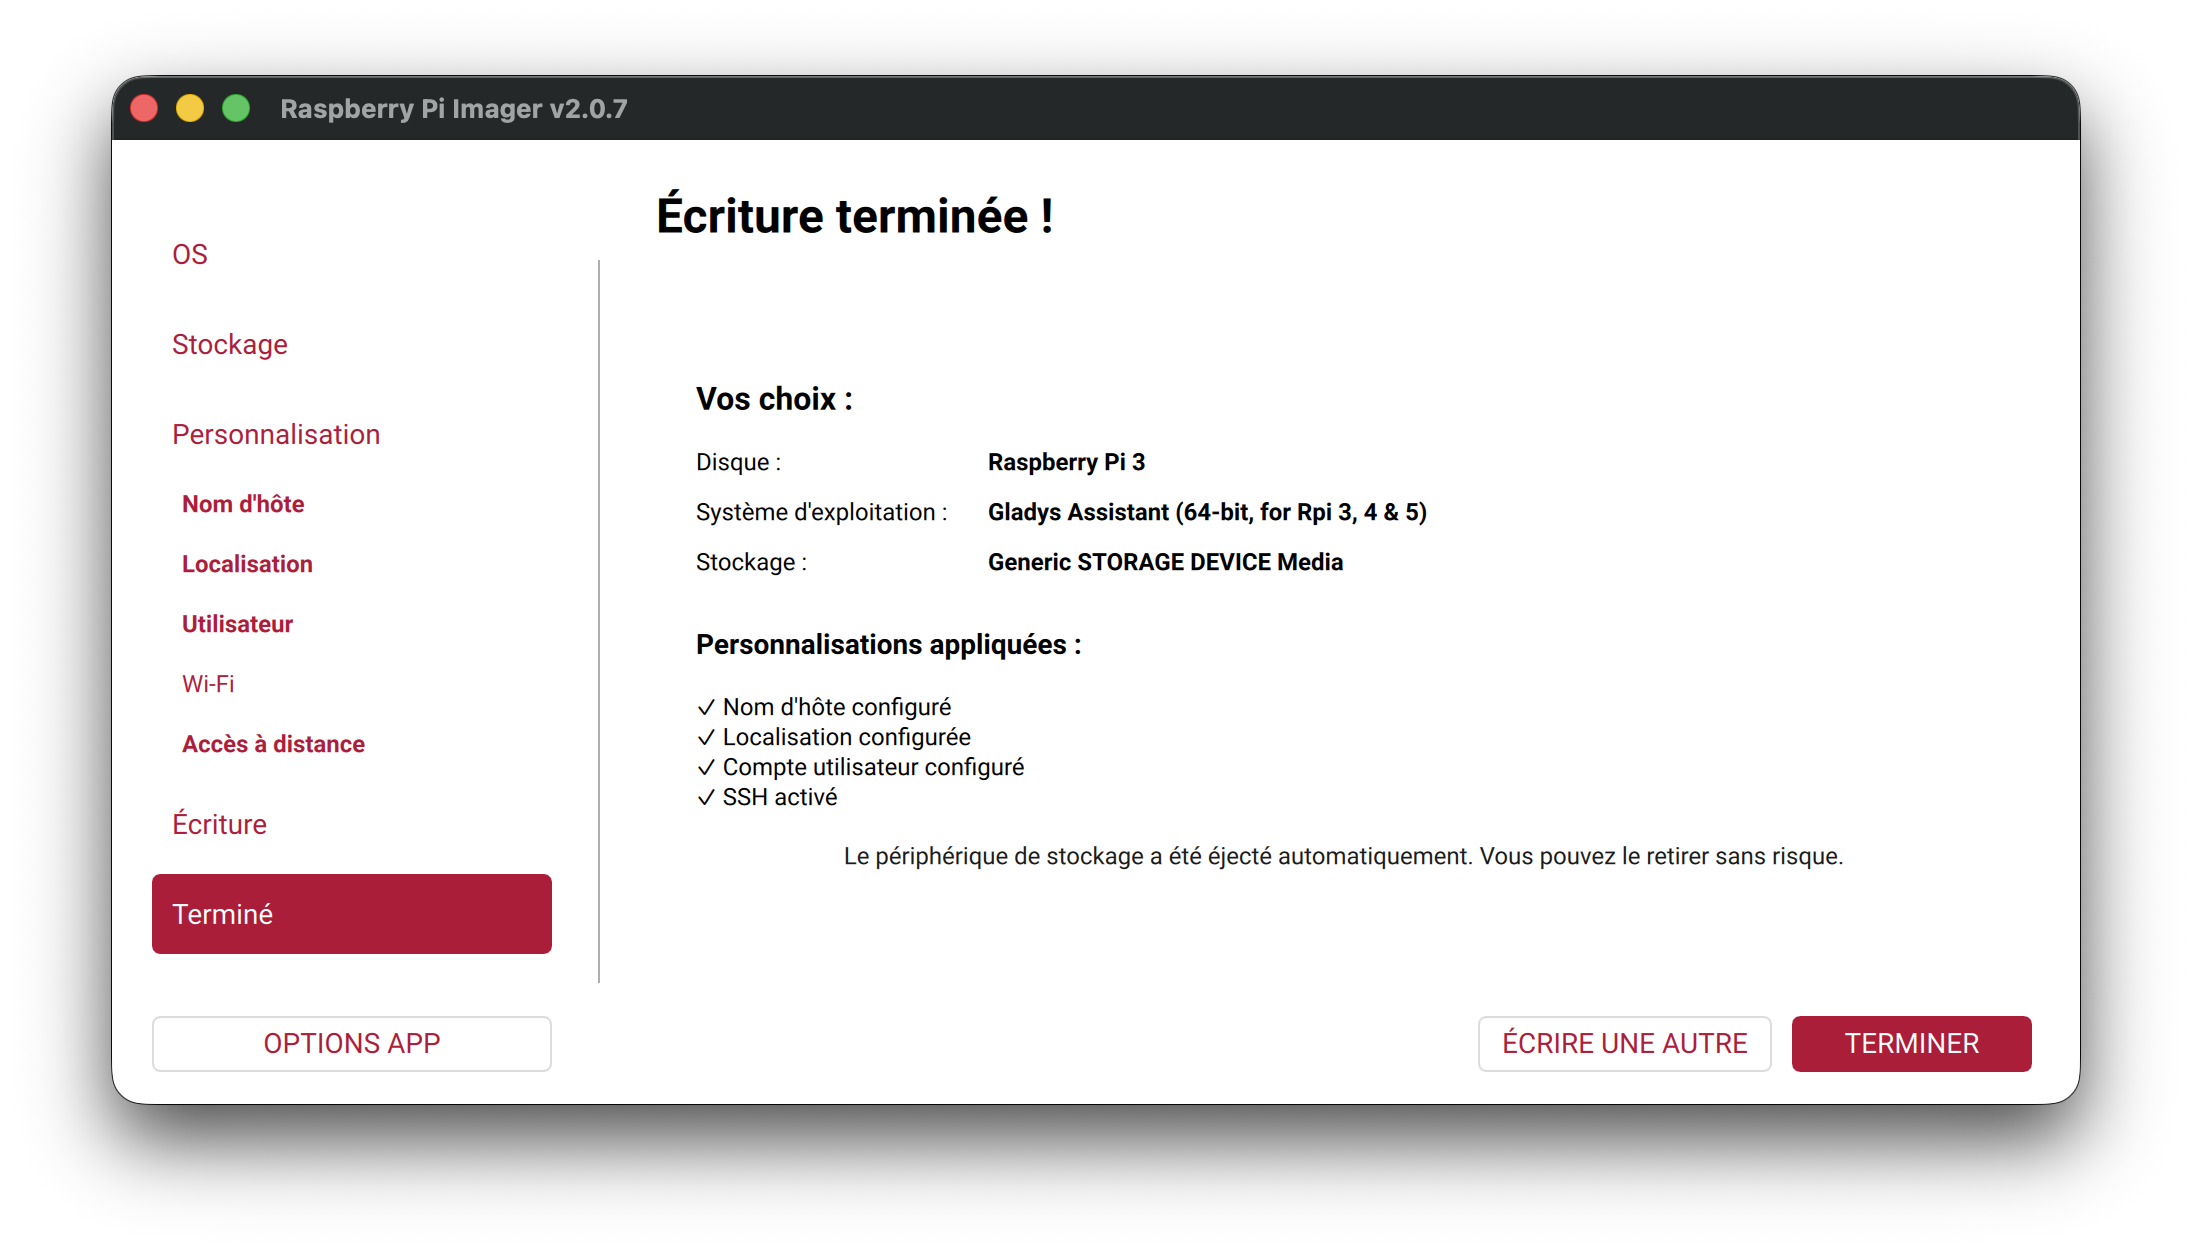
Writing can take several minutes depending on your storage speed. Once complete, Raspberry Pi Imager automatically ejects the device:
Step 7: First Boot
- Insert the micro-SD card (or plug in the USB SSD) into your Raspberry Pi
- Connect the power supply
- Wait about 2 minutes for the Raspberry Pi to boot
Step 8: Access Gladys Assistant
Open your browser and go to one of these addresses:
http://gladysassistant.local(Gladys announces this name on your local network over mDNS)http://gladys.local(if you configured the hostname asgladys)http://YOUR_LOCAL_IP(for examplehttp://192.168.1.131)
On first boot, Gladys runs its initial setup. This can take between 5 minutes and 1 hour depending on your hardware and internet connection:
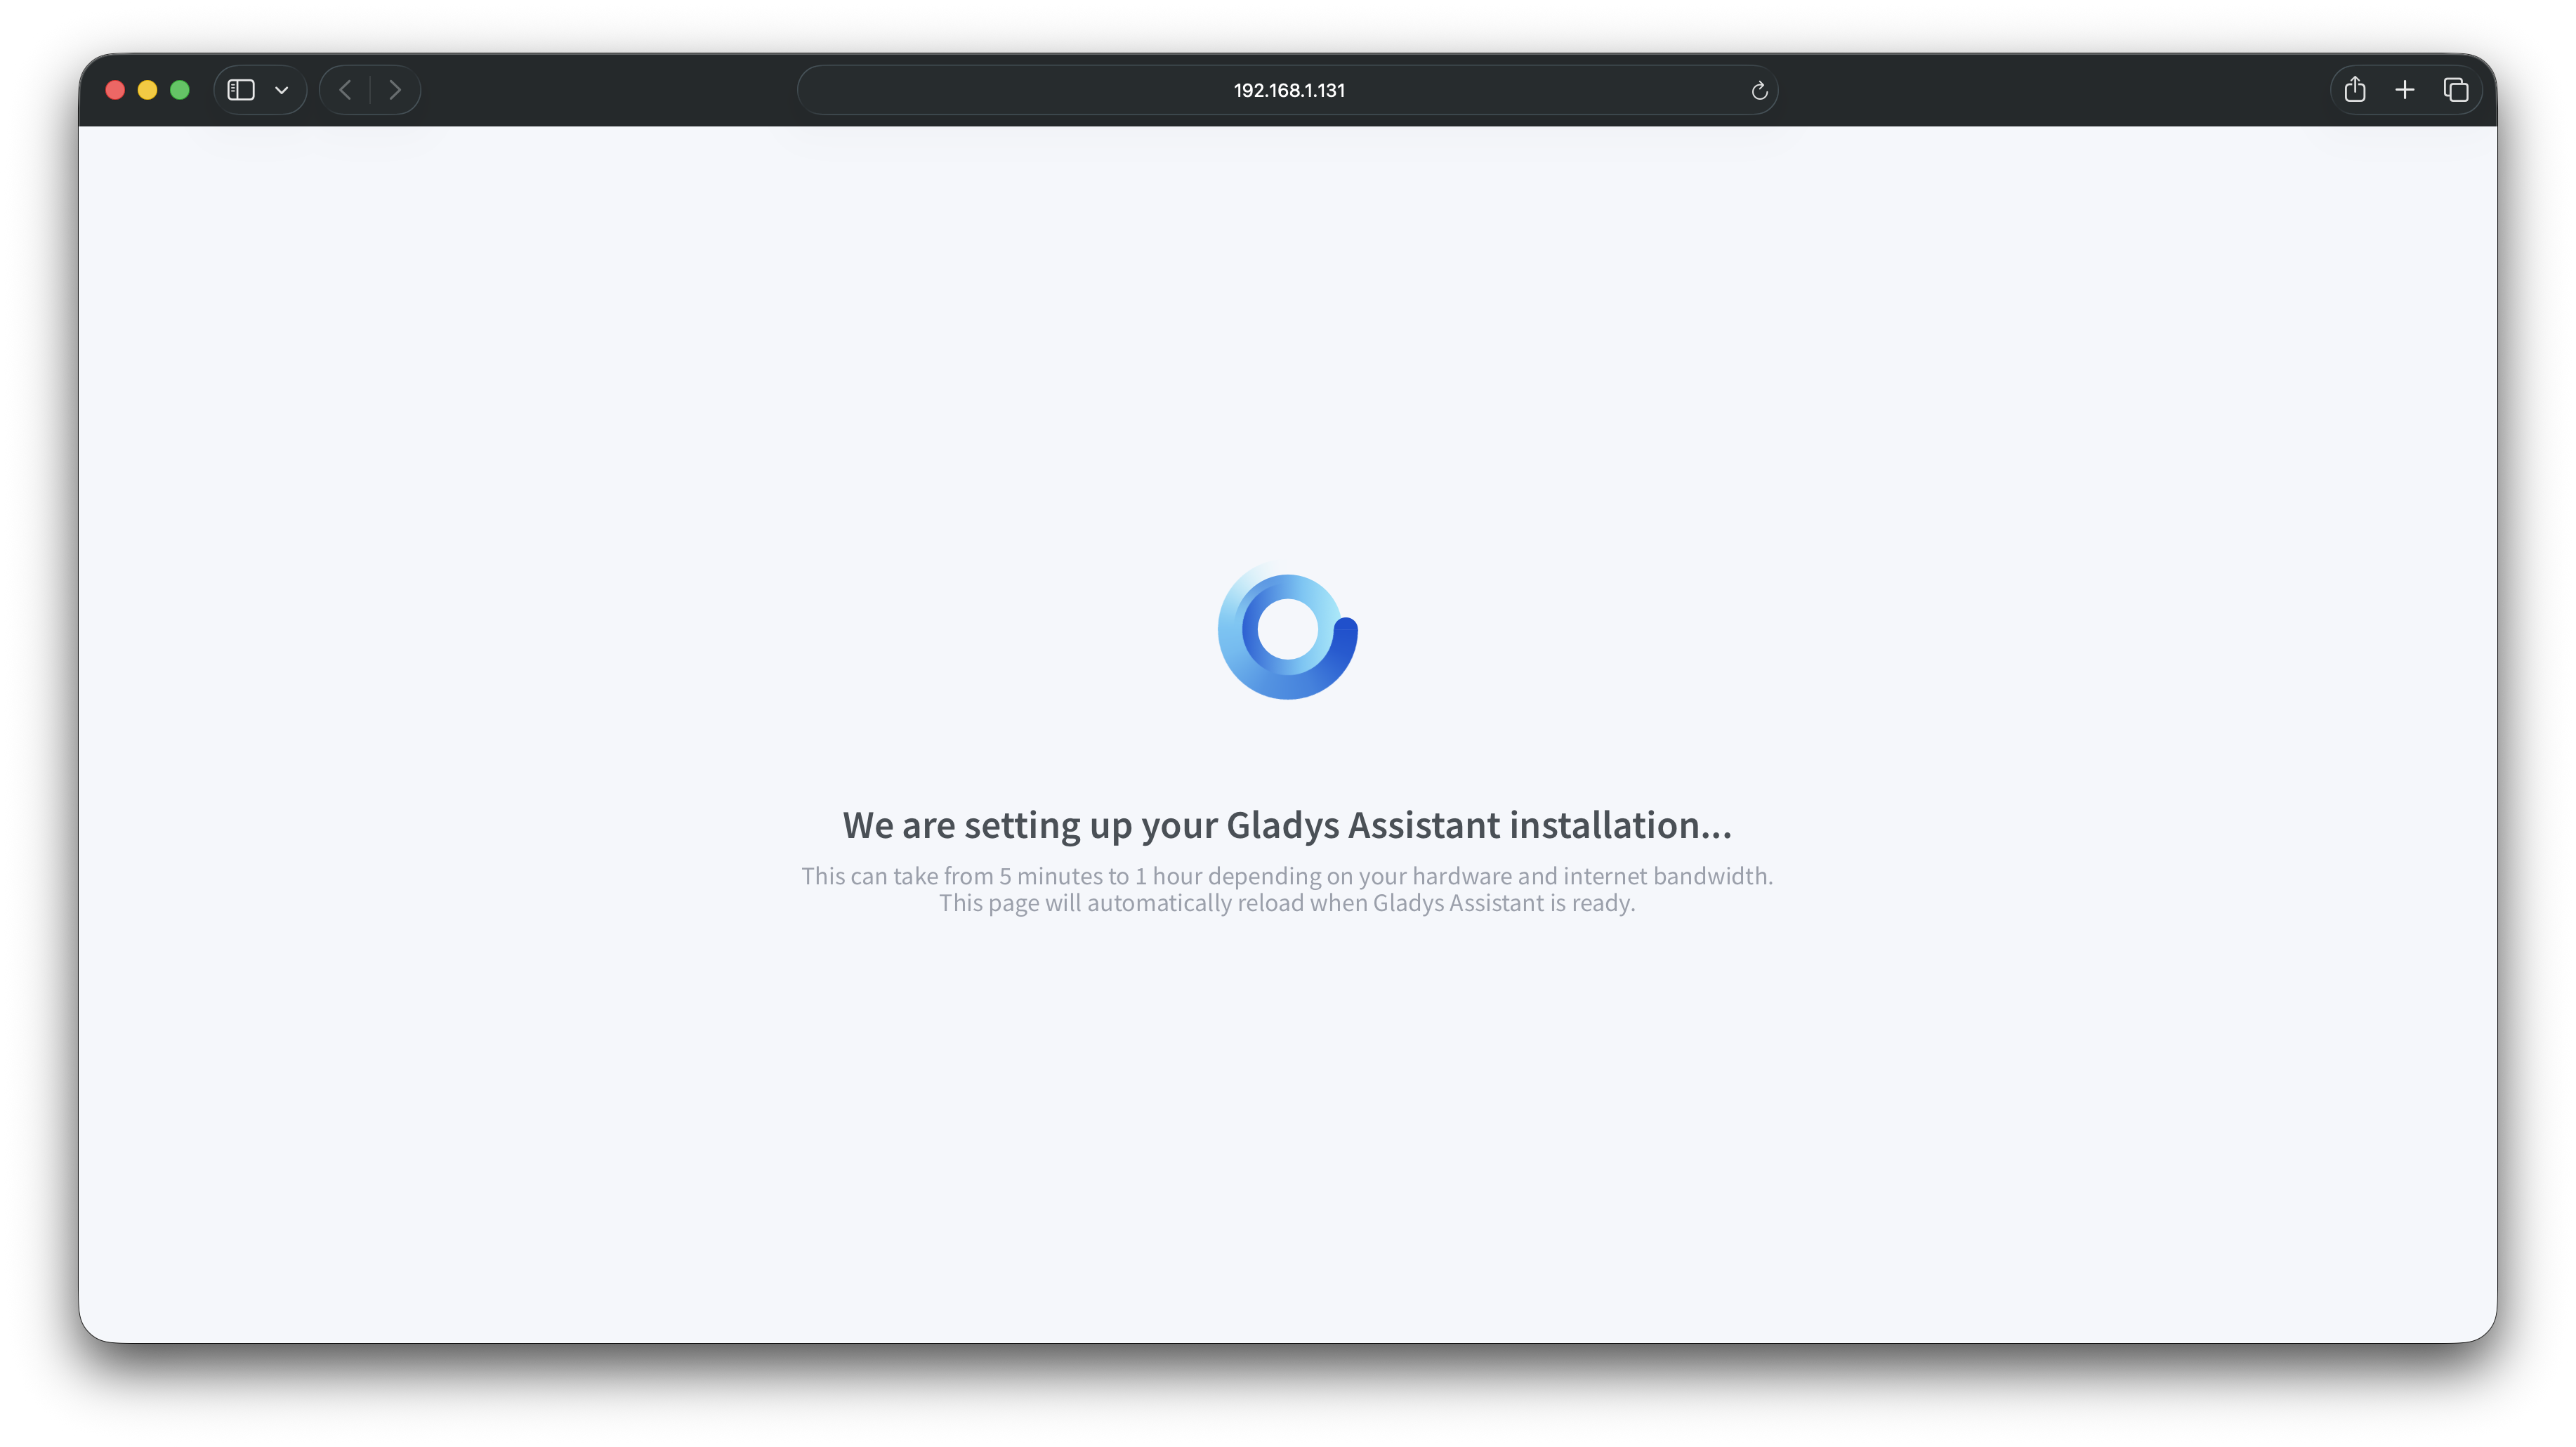
The page will reload automatically when Gladys is ready. You can then create your account and start setting up your smart home!
What's Next?
- Check out the Recommended hardware guide to choose your connected devices
- Learn how to install integrations (Zigbee, Z-Wave, etc.)
- If you want to upgrade to a more powerful setup, see the Mini-PC installation guide